Laser-1 Interlock System User Manual
This document provides a user overview for the Laser-1 Laser Interlock System. It covers the laser modules, hazard indicators, control protocases, VIEWMARQ display, and the beacons in Vault-1 and Vault-1 Control. The laser modules are used for indicating the status of the laser interlock system and arming the laser systems. The control protocase allows the users to view the override state of the laser enclosure and control the manual shutter control. The VIEWMARQ display provides a quick overview of the laser hazard status in Vault-1. The beacons are used to indicate the state of laser hazards in Vault-1 and the laser enclosures.
Laser-1 Laser Hazard Warning Indicators
Unlike the Vault-1 and Hutch-1 laser interlocks systems, there are no beacon stacks for displaying the state of the laser interlock system. Additionally, because the Dira enclosure is in Vault-1 there is no protocase corresponding to Laser-1.
VIEWMARQ Display
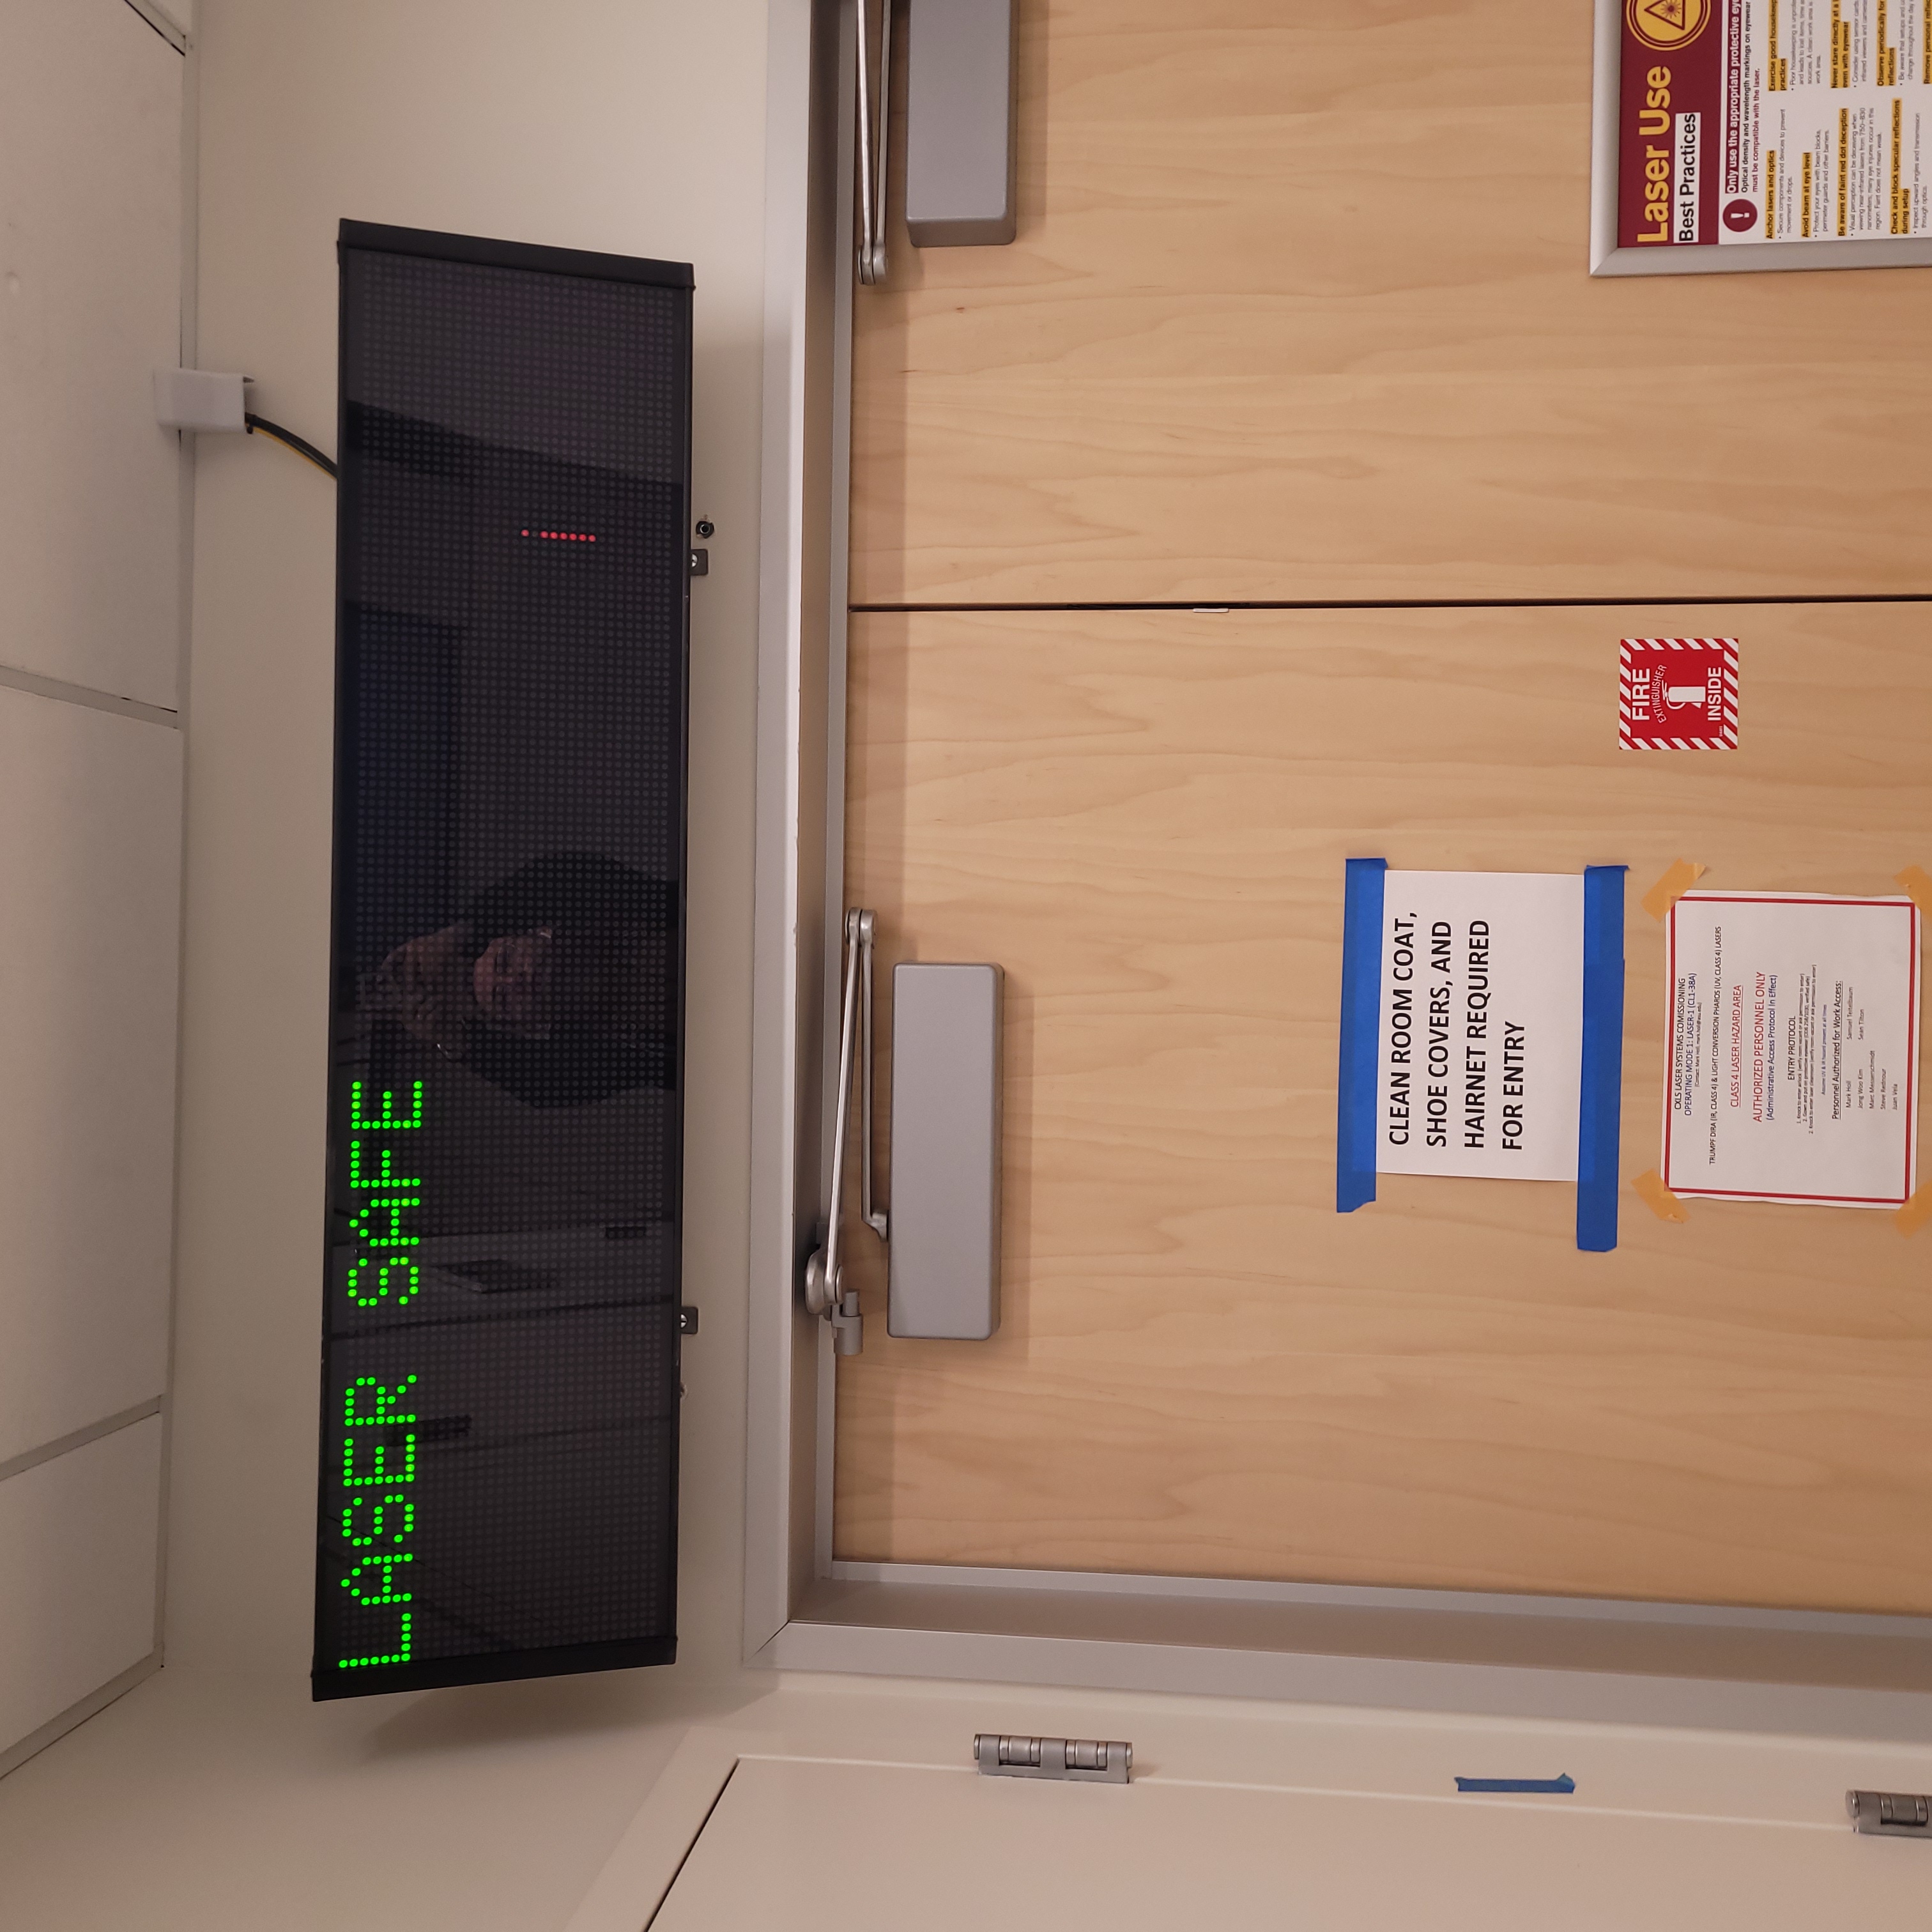
There is a VIEWMARQ display outside of the Laser-1 entrance and inside of the Laser-1 airlock.
VIEWMARQ Display Notes |
VIEWMARQ Display Text |
|---|---|
This states if Laser-1 is armed as a laser lab or not. |
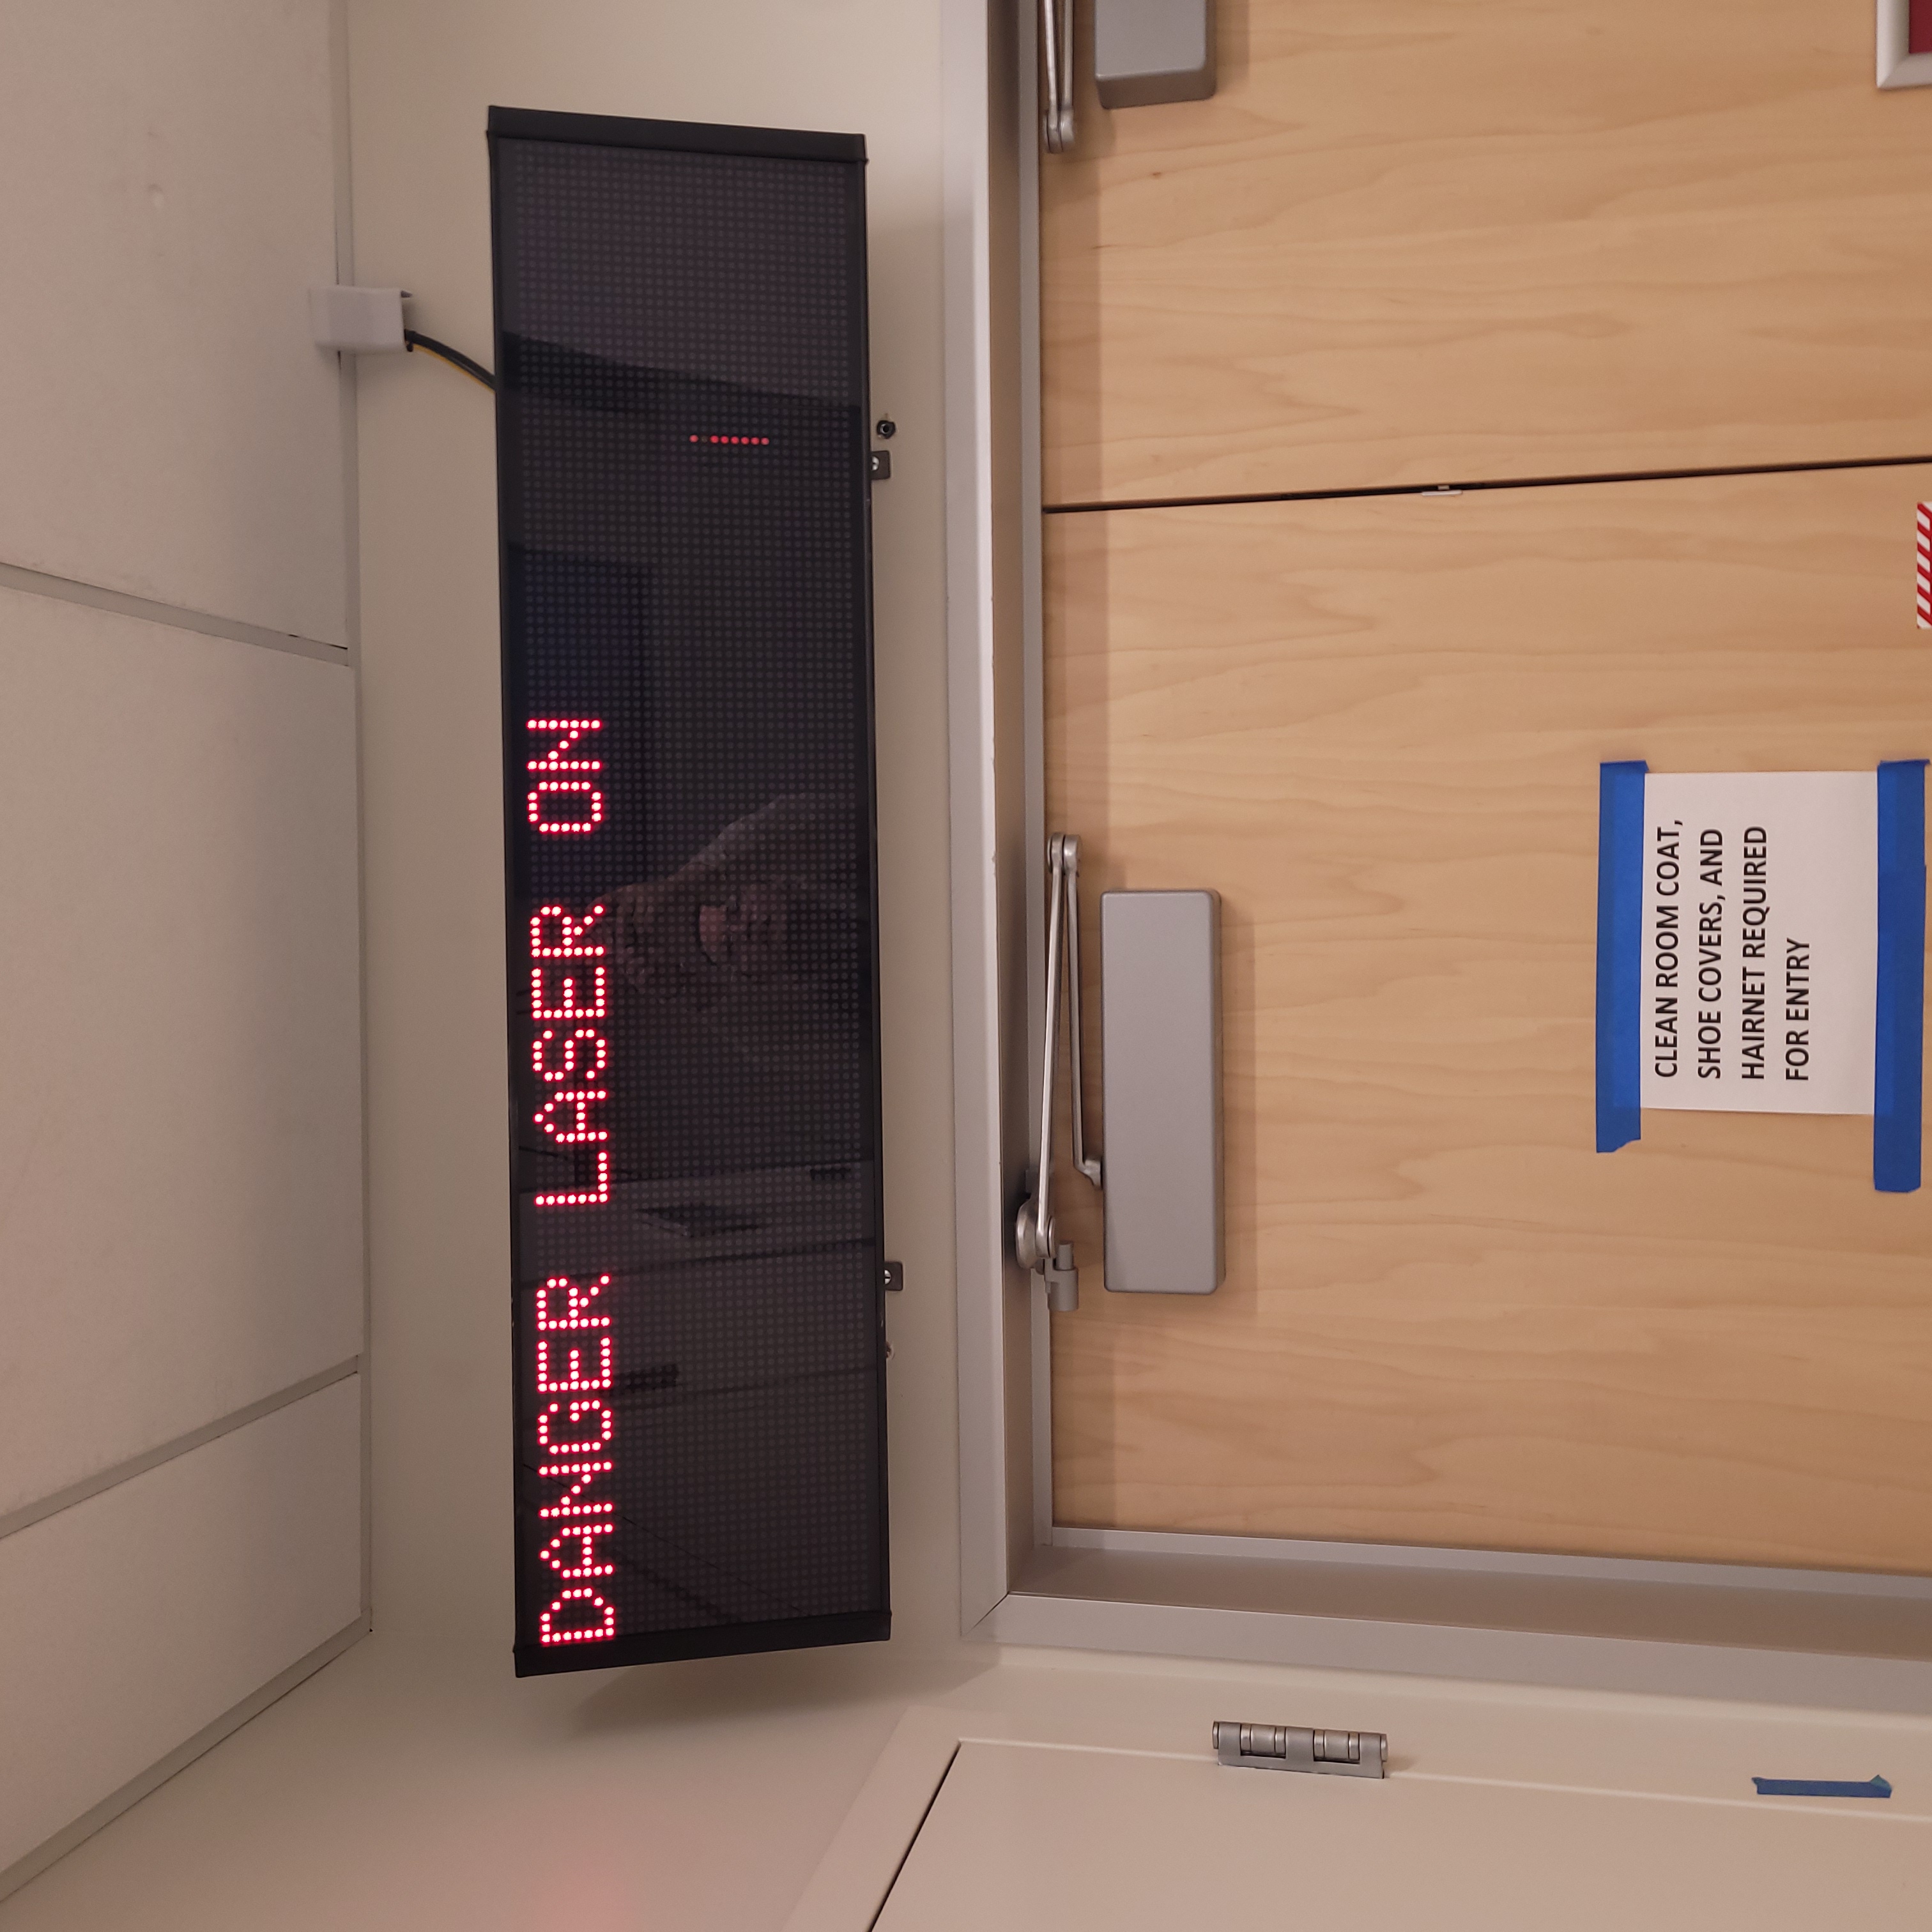
LASER SAFE / DANGER LASER HAZARD |
This states which hazard is armed. |
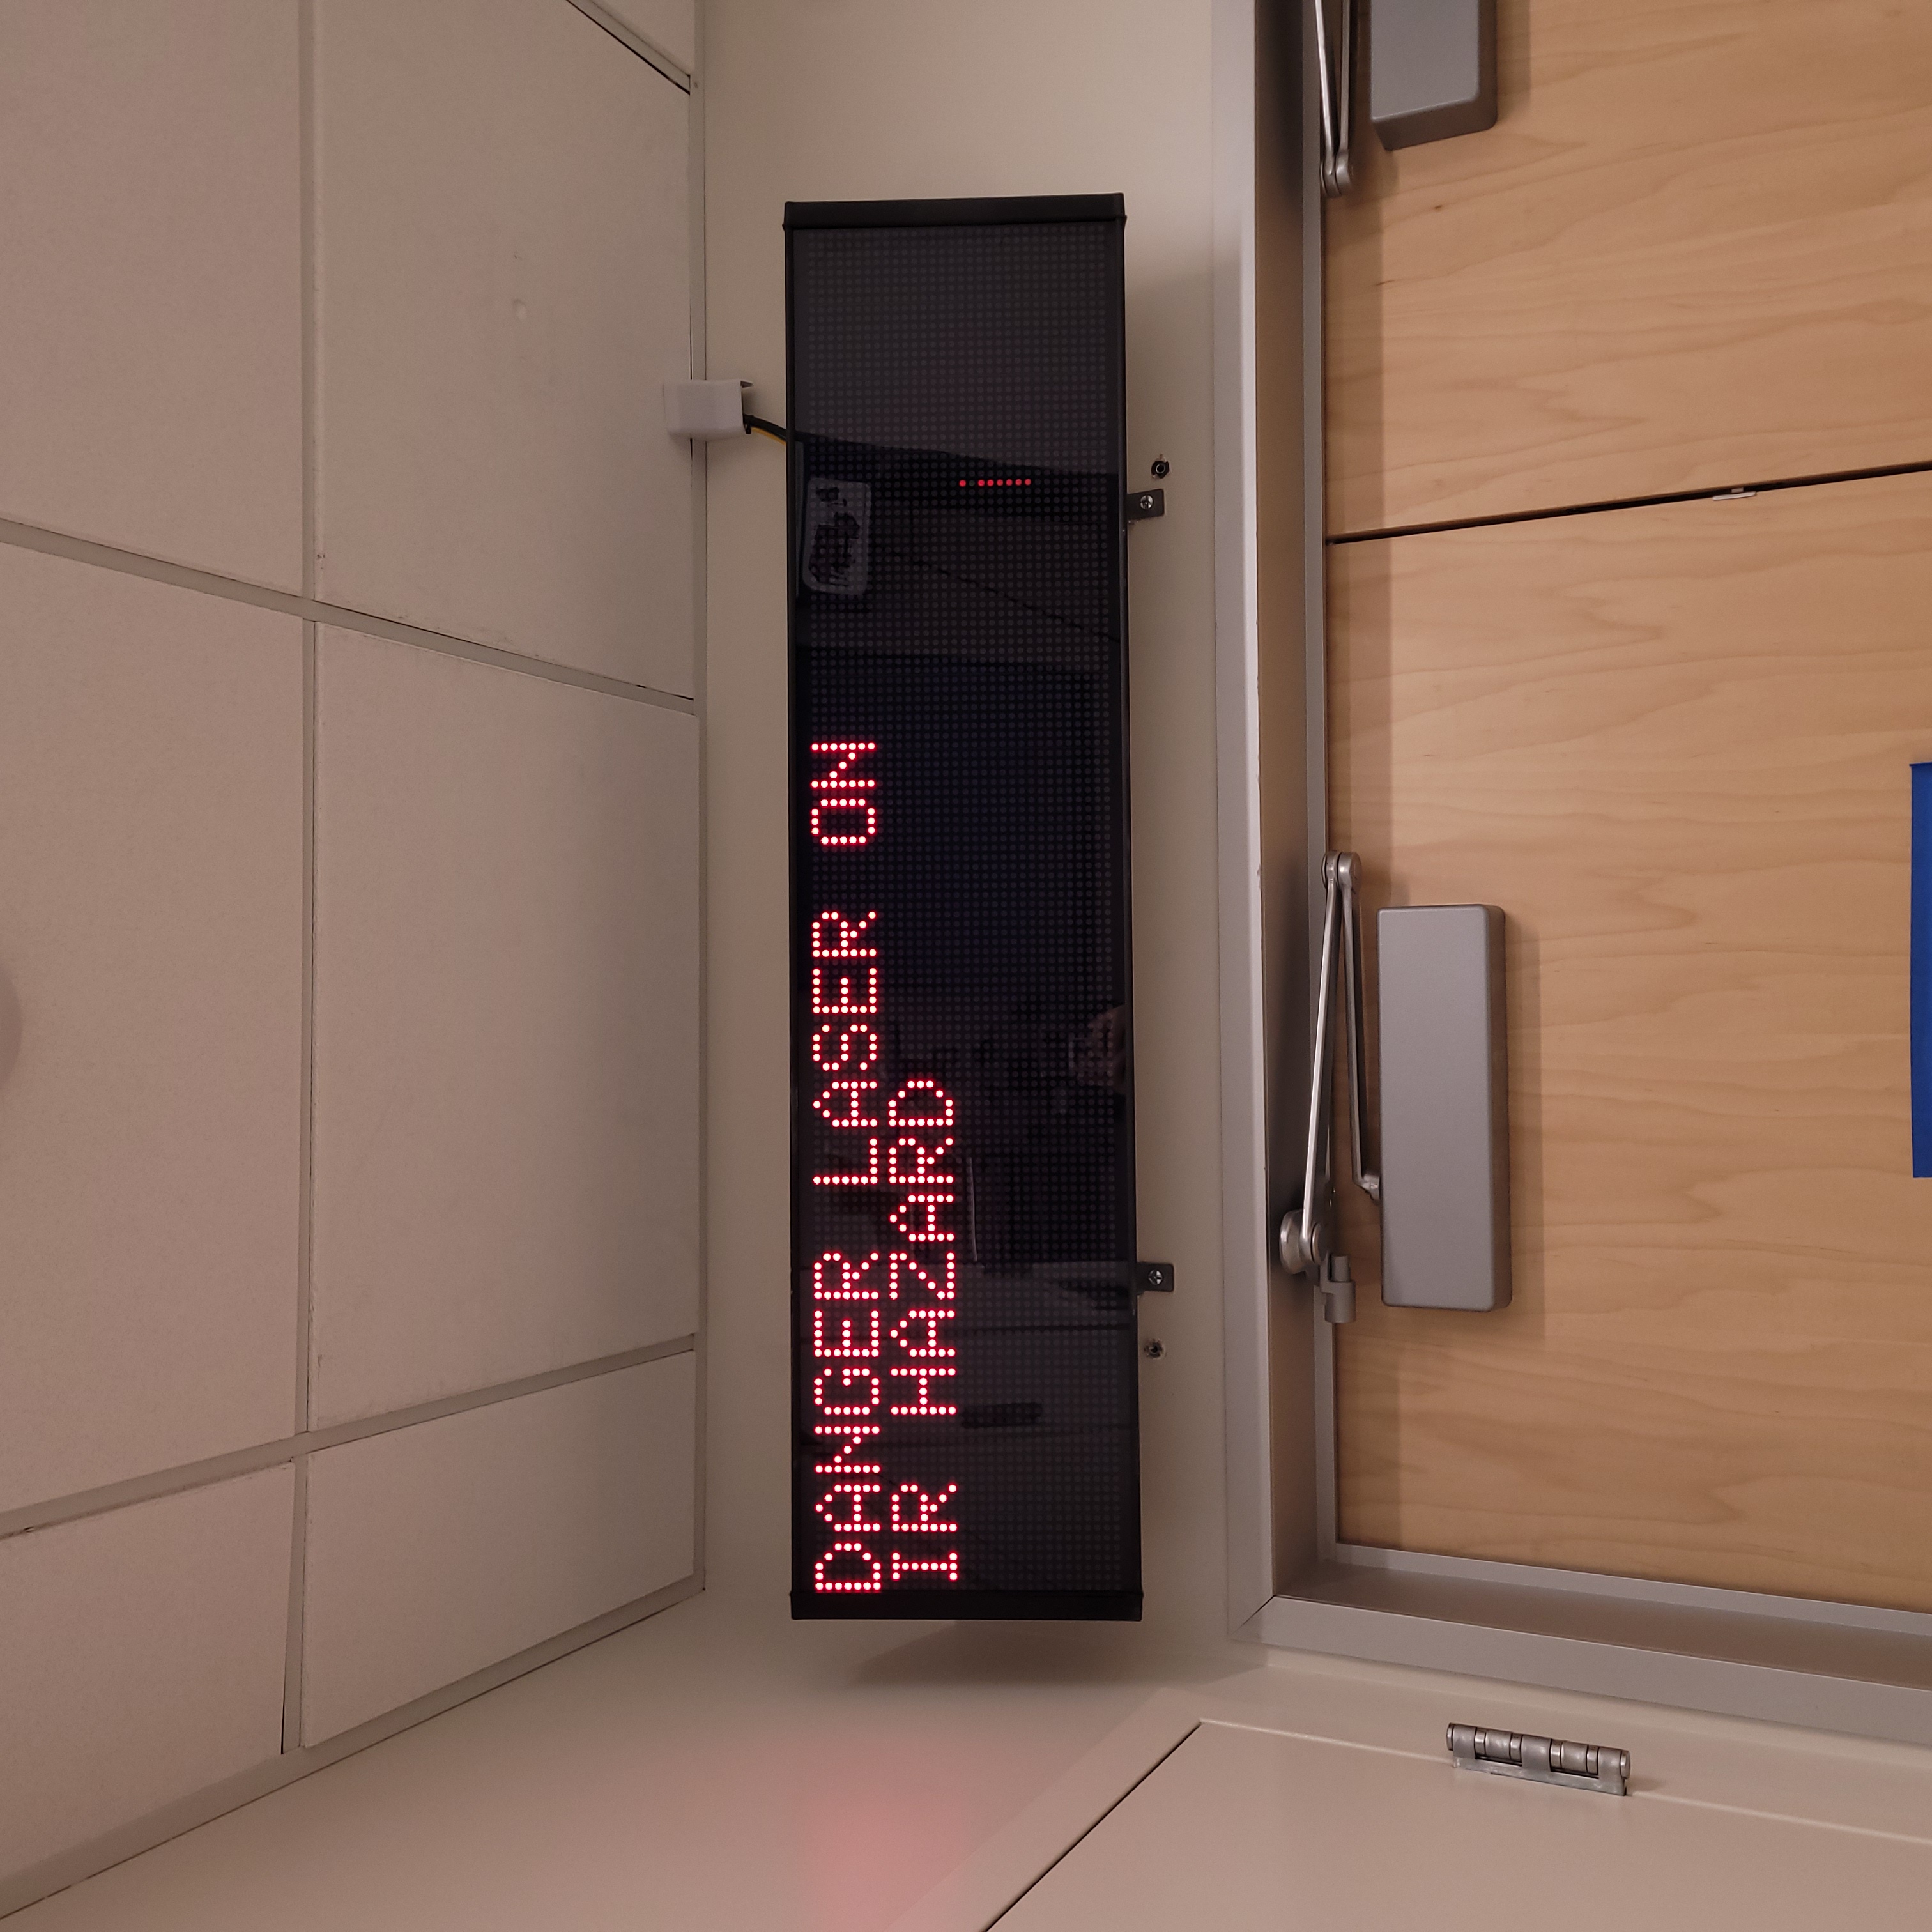
IR HAZARD AUX 3 HAZARD |
This states which hazard is armed. |
UV HAZARD AUX 4 HAZARD |
This states which hazard is armed. |
AUX 2 HAZARD |
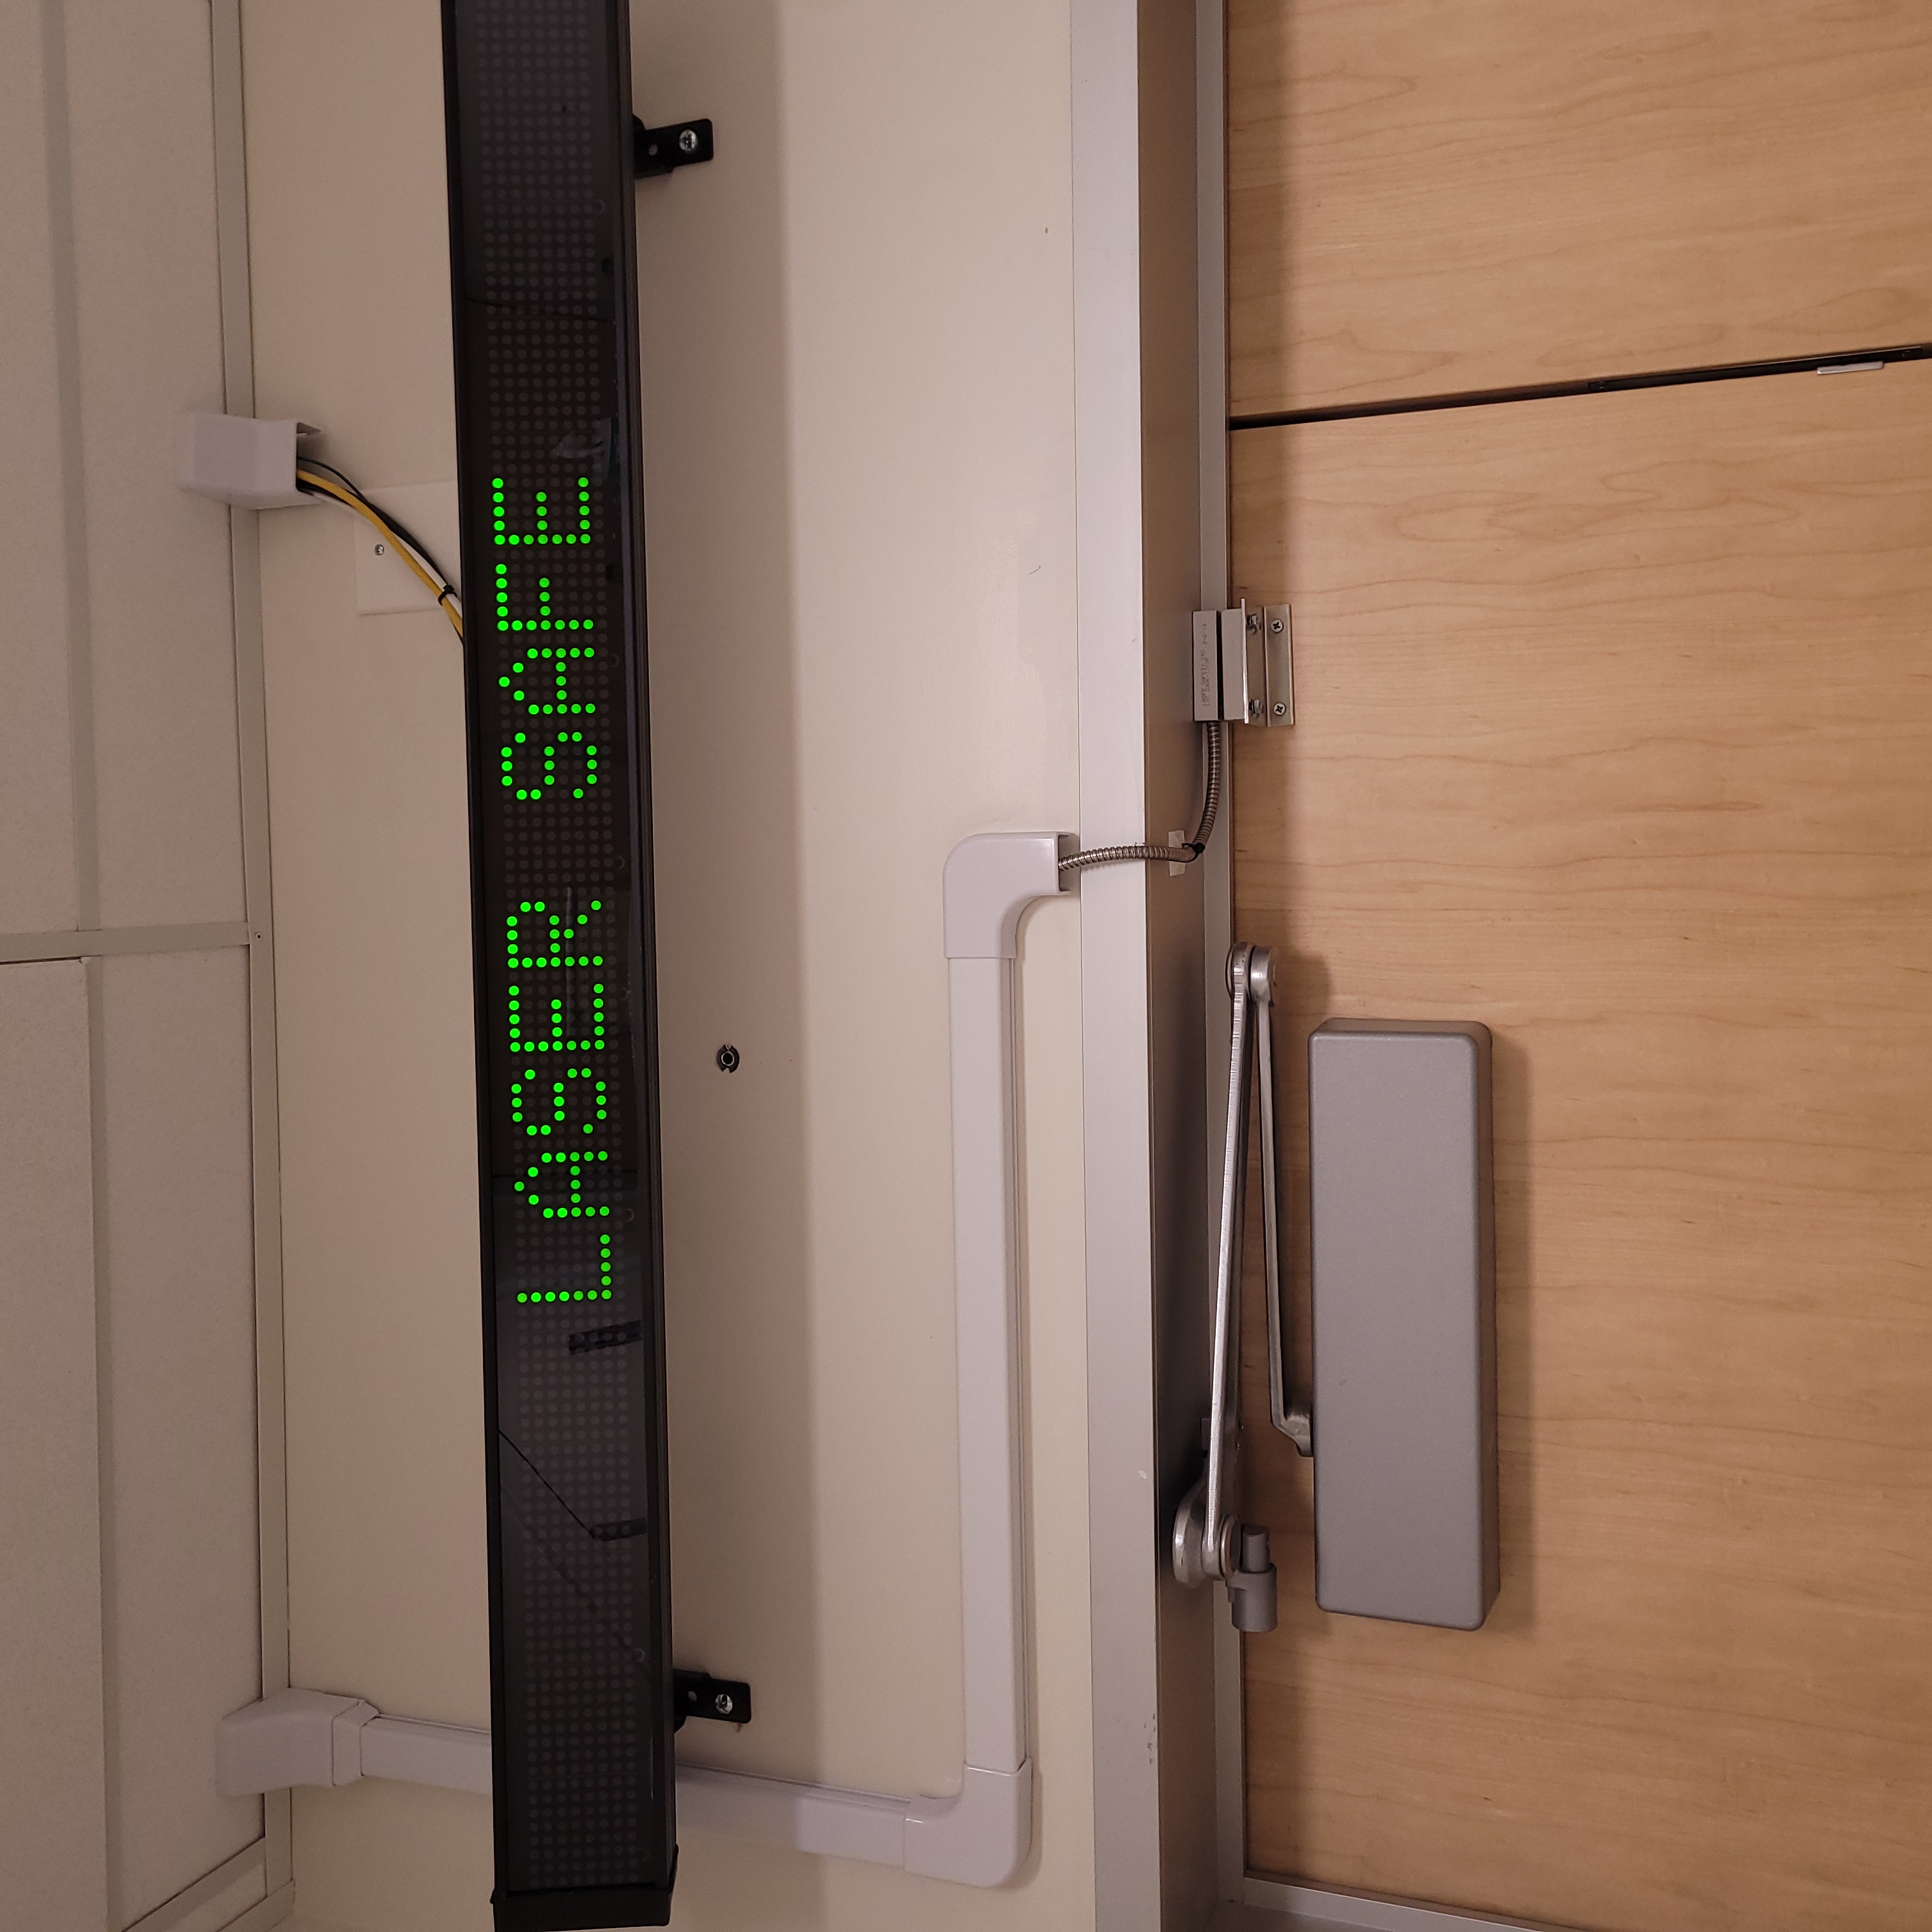
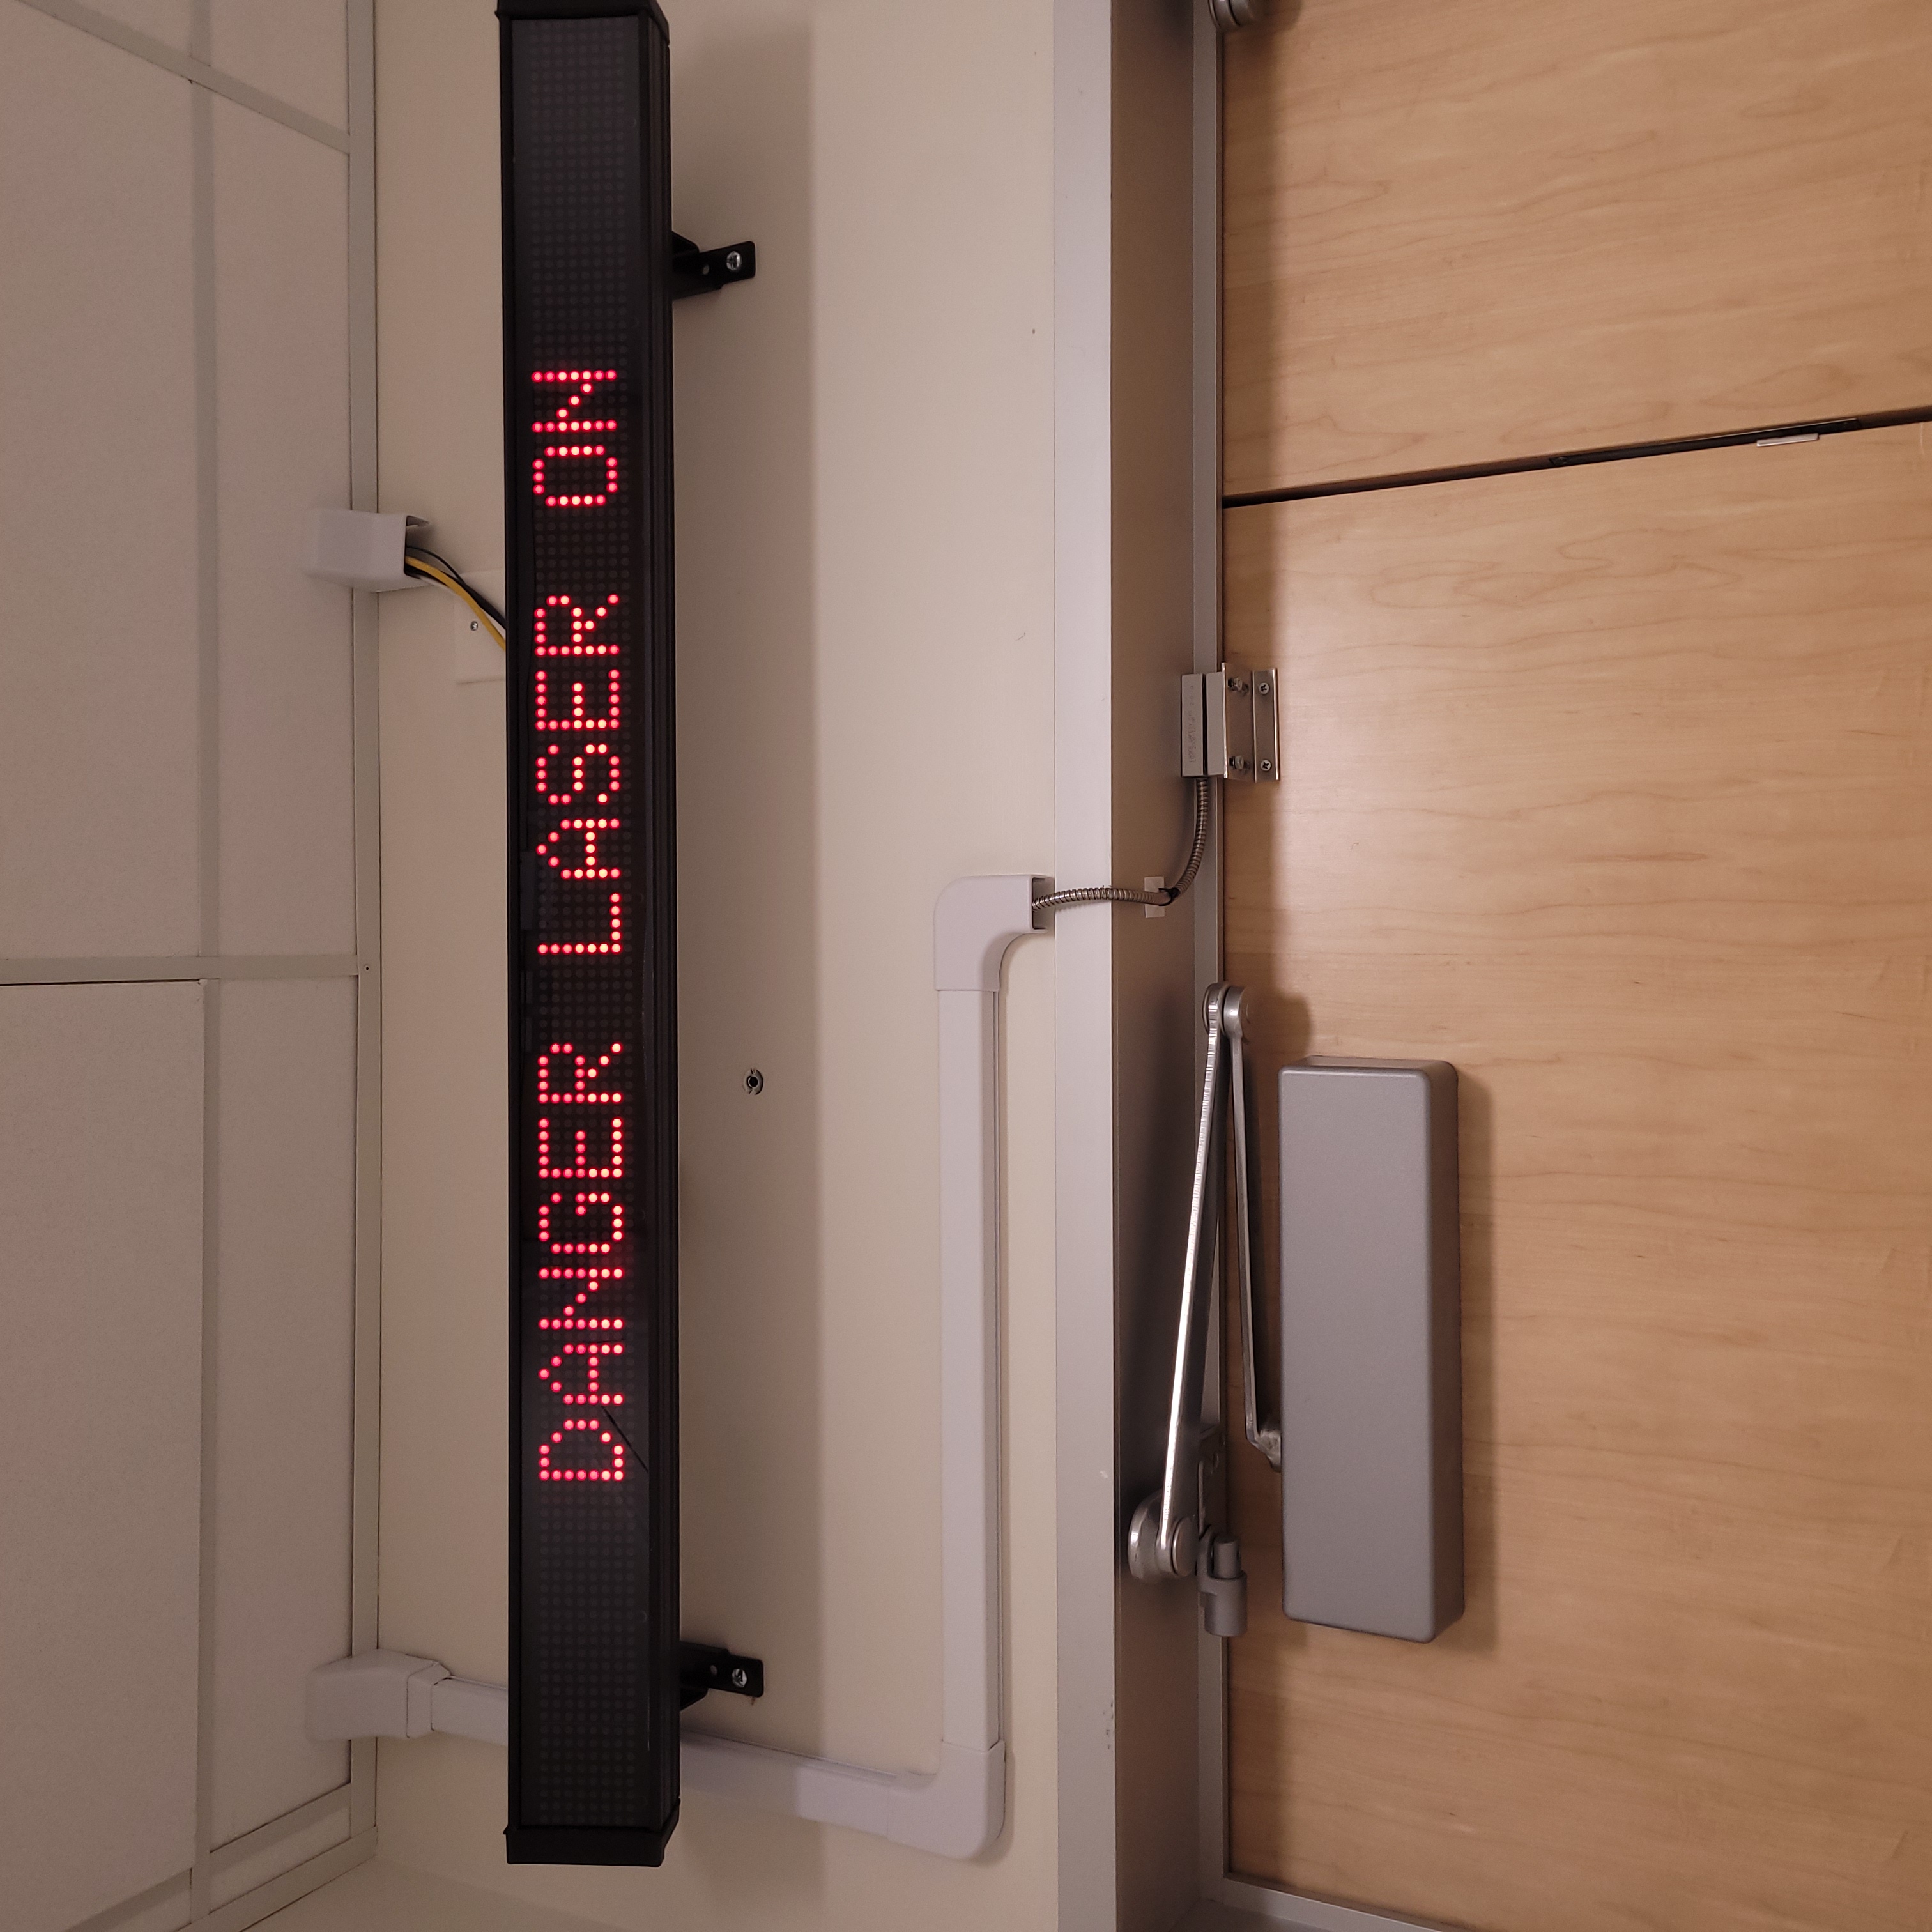
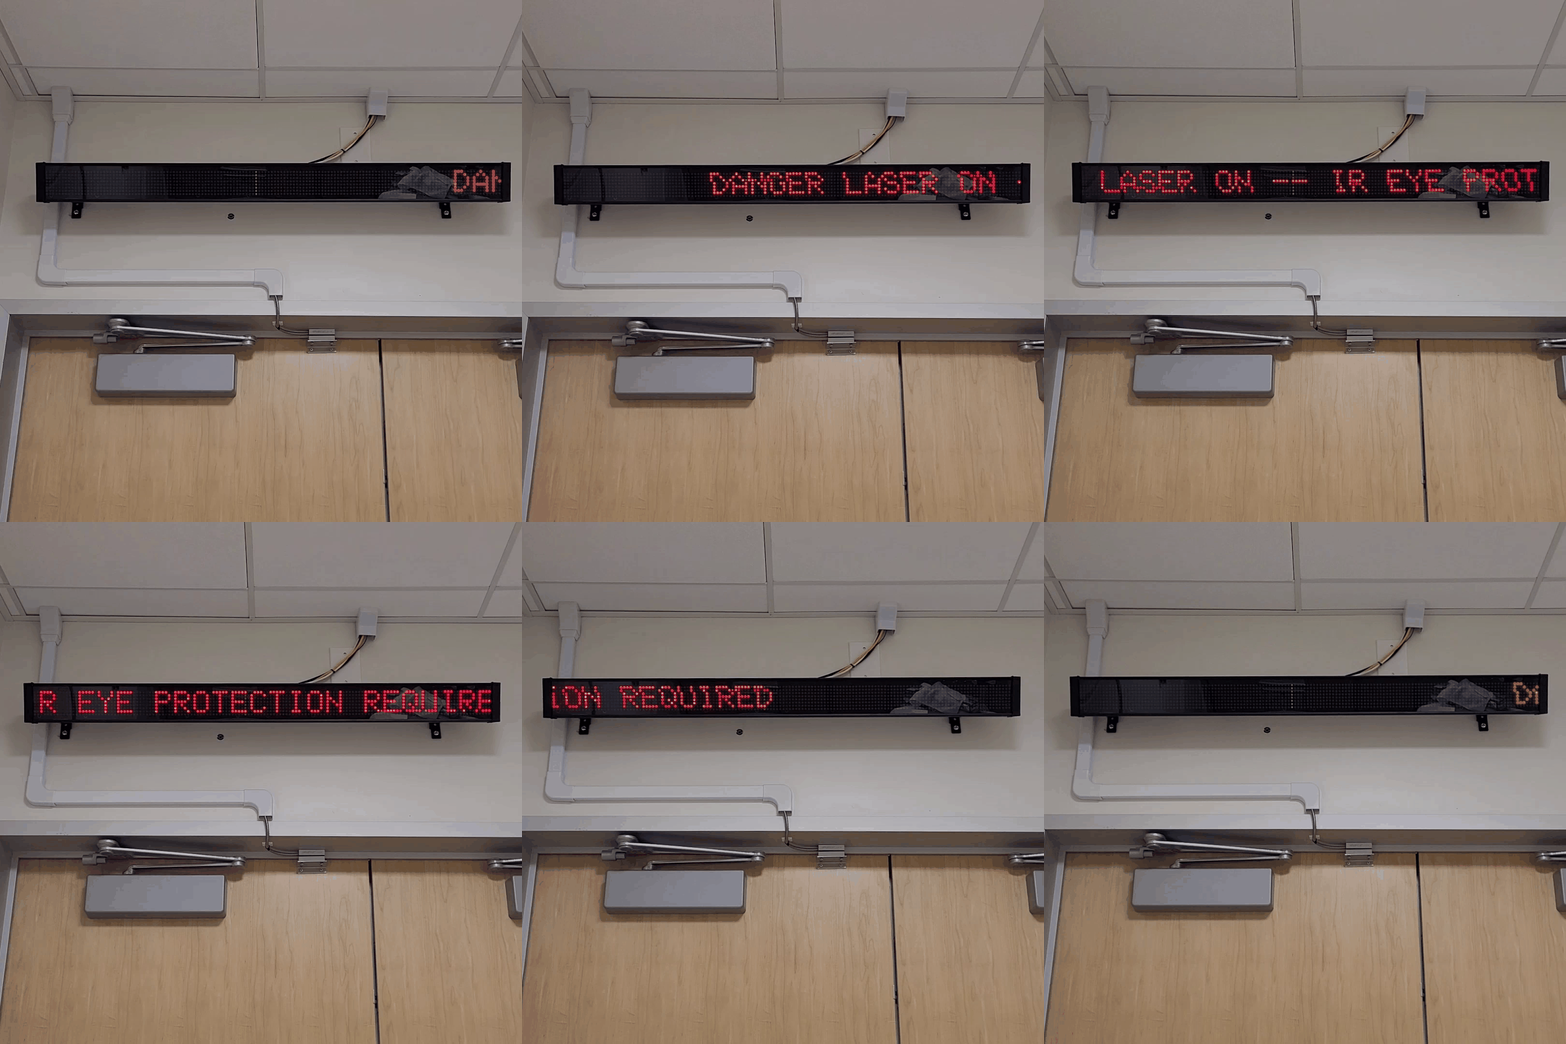
The top line of the Laser-1 entry VIEWMARQ will always either display LASER SAFE or DANGER LASER HAZARD. All other possible states will only appear on the display when the hazard is presented. Additionally, the VIEWMARQ display in the Laser-1 airlock will display the same message as the VIEWMARQ outside of Laser-1. The airlock VIEWMARQ can only support one-line messages, so the whole message is truncated to one line and moves across the display.
Figure 1: This is the Laser-1 entry VIEWMARQ in different states.
Figure 2: This is the Laser-1 airlock VIEWMARQ in different states.
Laser Safety System Modules
The laser interlock system is interfaced through the laser safety systems modules. Below is an outline of the modules and what they do.
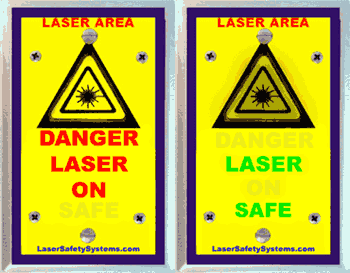
Figure 3: Area Warming Module
Module Location |
Module Meaning |
|---|---|
General Area Module
Vault-1 Control
Vault-1 Entry
|
These are warning modules tell you if Vault-1 is armed as a laser lab.
DANGER LASER ON = ARMED
|
Enclosure Modules
Pharos enclosure south wall
Pharos enclosure west wall
|
These warning modules tell you if the enclosure is armed.
There is no indication on if the laser is armed.
DANGER LASER ON = ARMED
|
Protocase Modules
Pharos enclosure protocase
Dira enclosure protocase
|
These warning modules tell you if the enclosure is forced to a safe state.
DANGER LASER HAZARD = SAFE STATE IS NOT FORCED
|
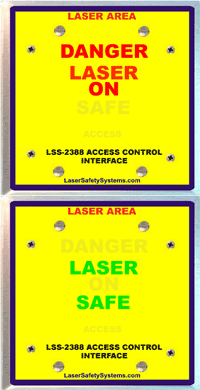
Figure 4: Control Module
This module is a control module for the local laser interlock, however, for the users it serves as another warning module. This warning module tells you if the room interlock is armed or not.
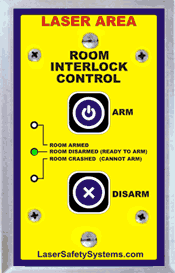
Figure 5: Room Arm Module
This module is used to arm systems in the laser interlock system. For example, there are two in Vault-1, one to arm the vault and one to arm the Pharos enclosure.
Module Message |
Message Meaning |
|---|---|
ROOM ARMED |
If this LED is on, then the corresponding system is armed
and interlocked.
|
ROOM DISARMED (READY TO ARM) |
If this LED is on, the the system is the correct state to armed
the module.
|
ROOM CRASHED (CANNOT ARM) |
If this LED is on, then there was a fault that tripped the
system, or a fault that will not allow the system to be armed.
|
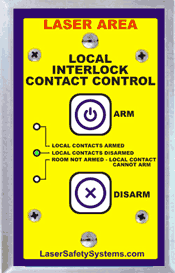
Figure 6: Local Arm Module
This module is used to arm the local interlock modules that are sub-systems of the room arm modules. For example, one the Pharos enclosure is armed, it enables the laser and the shutters to be armed by their local arming modules.
Module Message |
Message Meaning |
|---|---|
LOCAL CONTACTS ARMED |
If this LED is on, then the corresponding sub-system is armed.
|
LOCAL CONTACTS DISARMED |
If this LED is on, then the connected room module is armed,
but this module is not.
|
LOCAL CONTACTS DISARMED
ROOM NOT ARMED
LOCAL CONTACT CANNOT ARM
|
If this LED is on, then there was a fault that tripped, or the room
module is not armed.
|
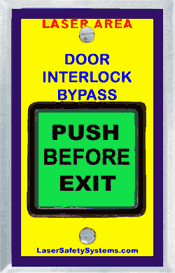
Figure 7: Push to Exit Module
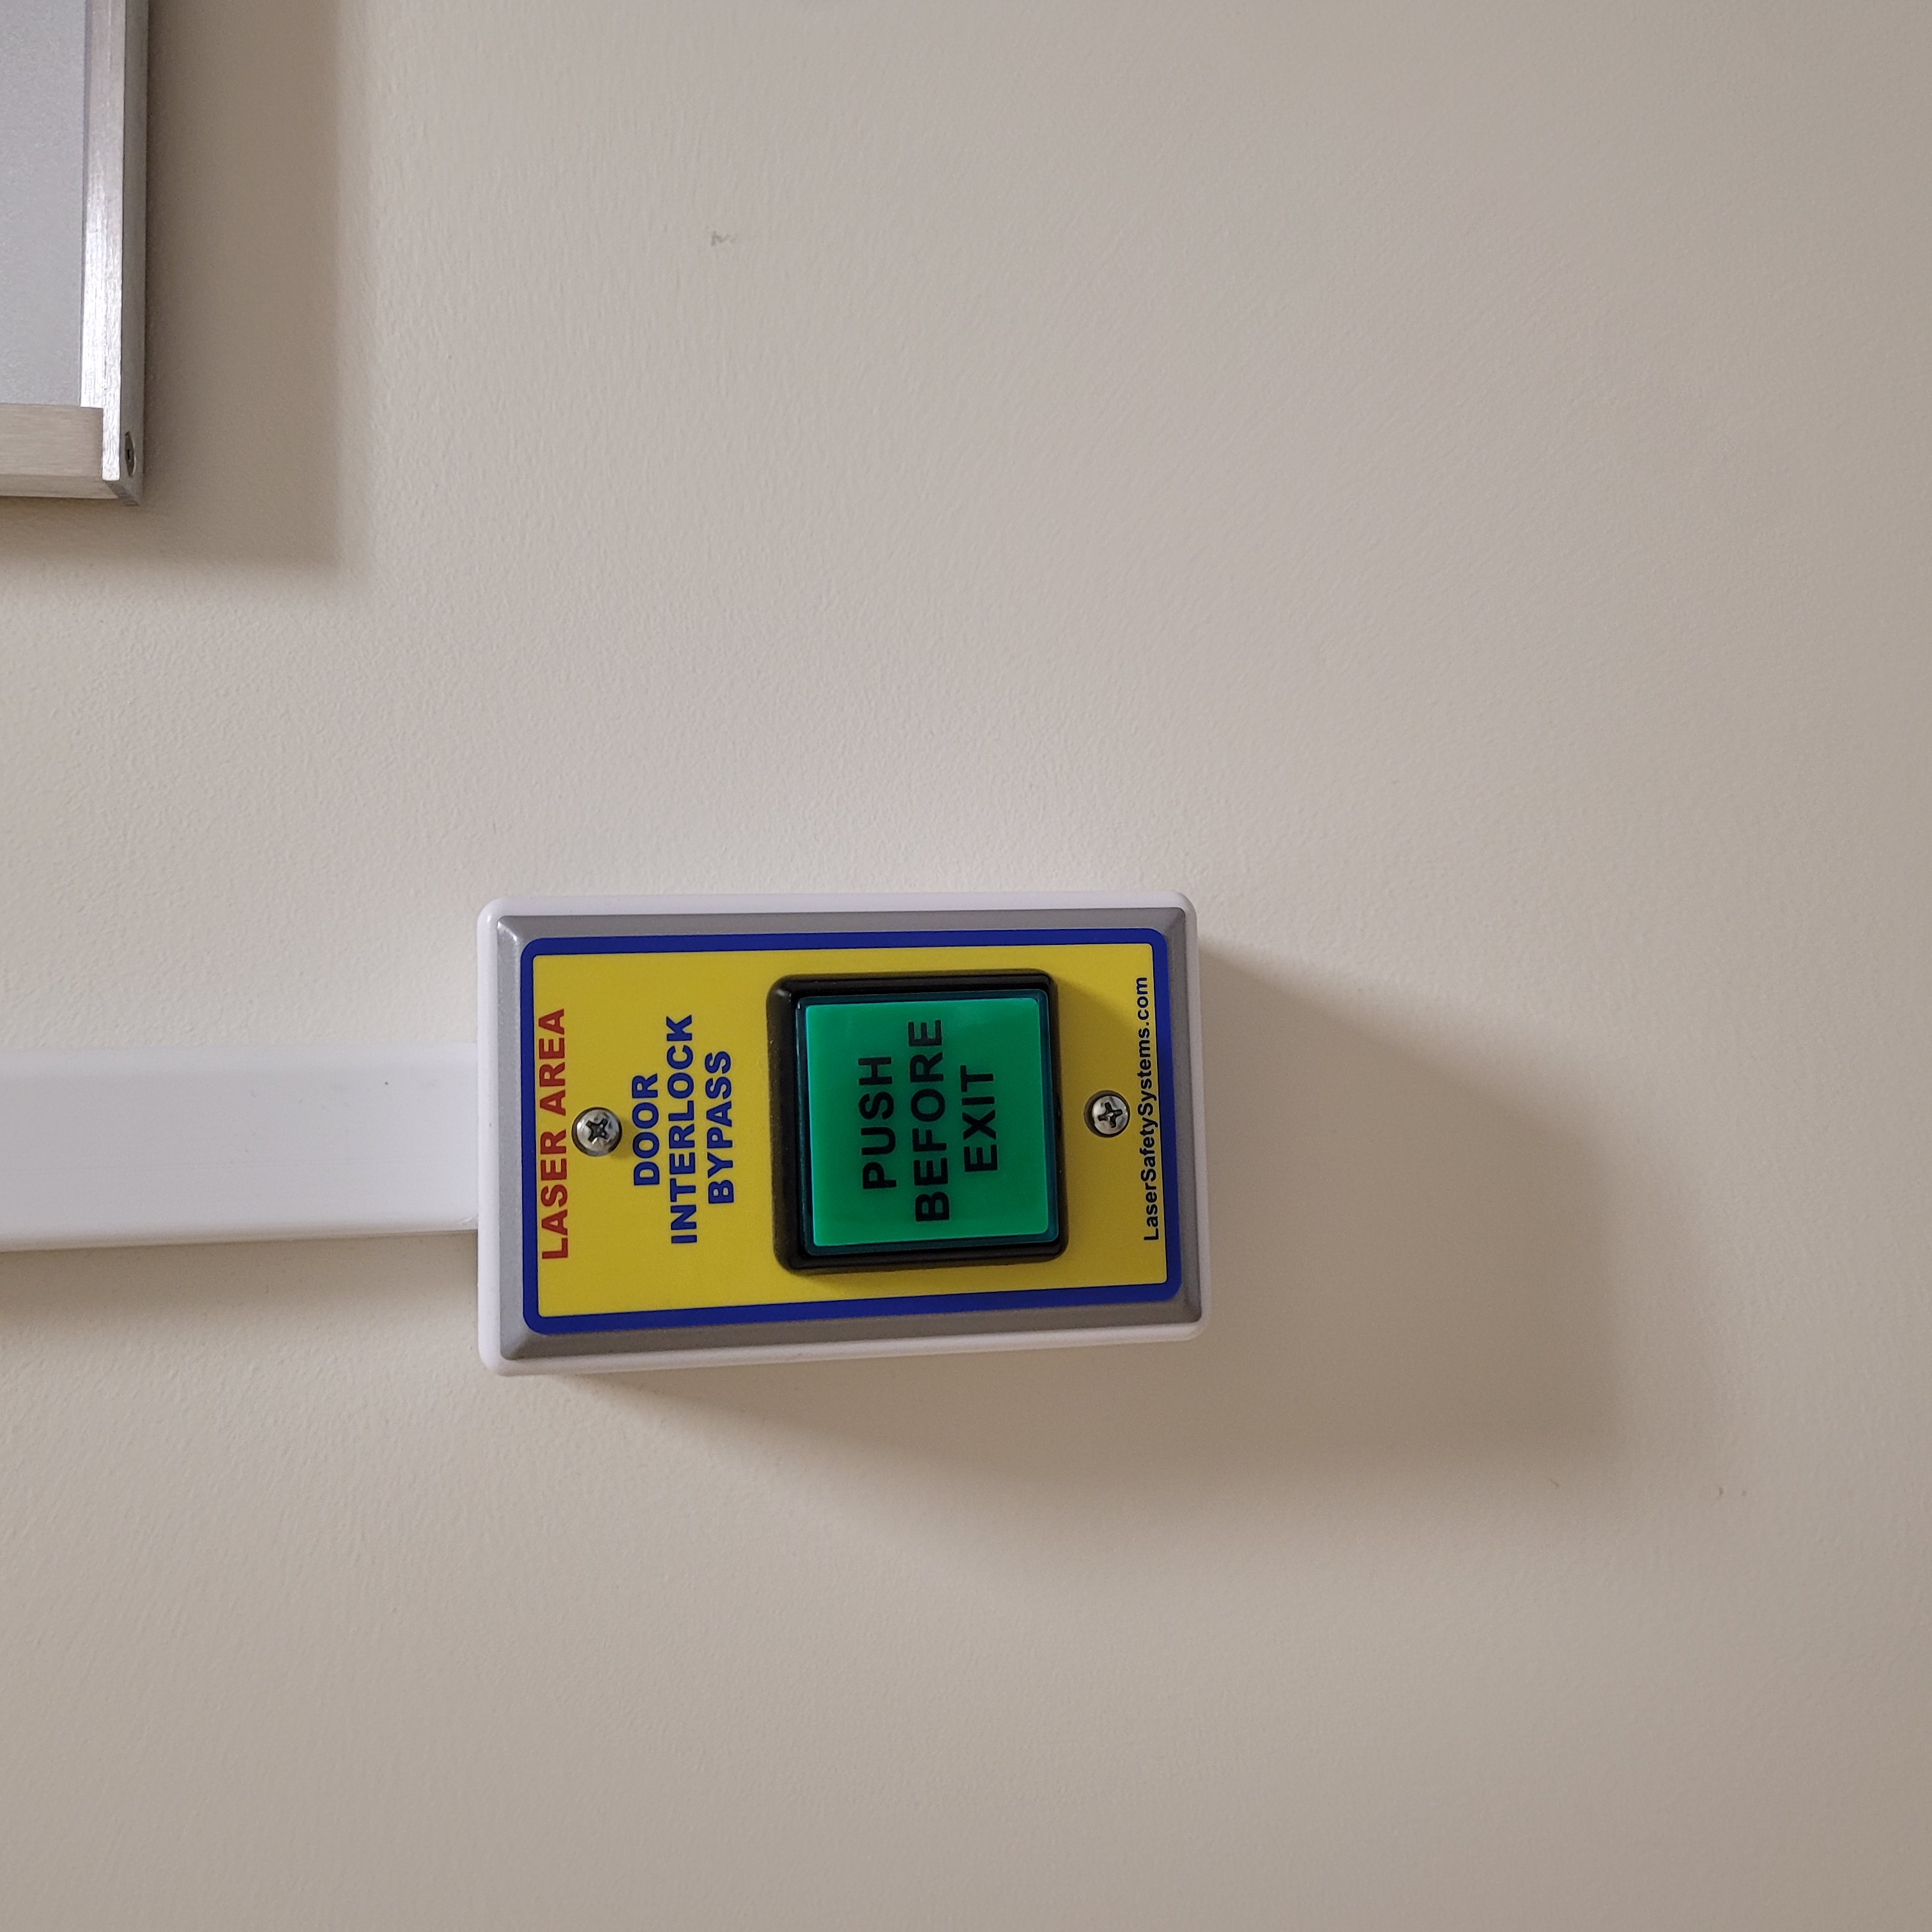
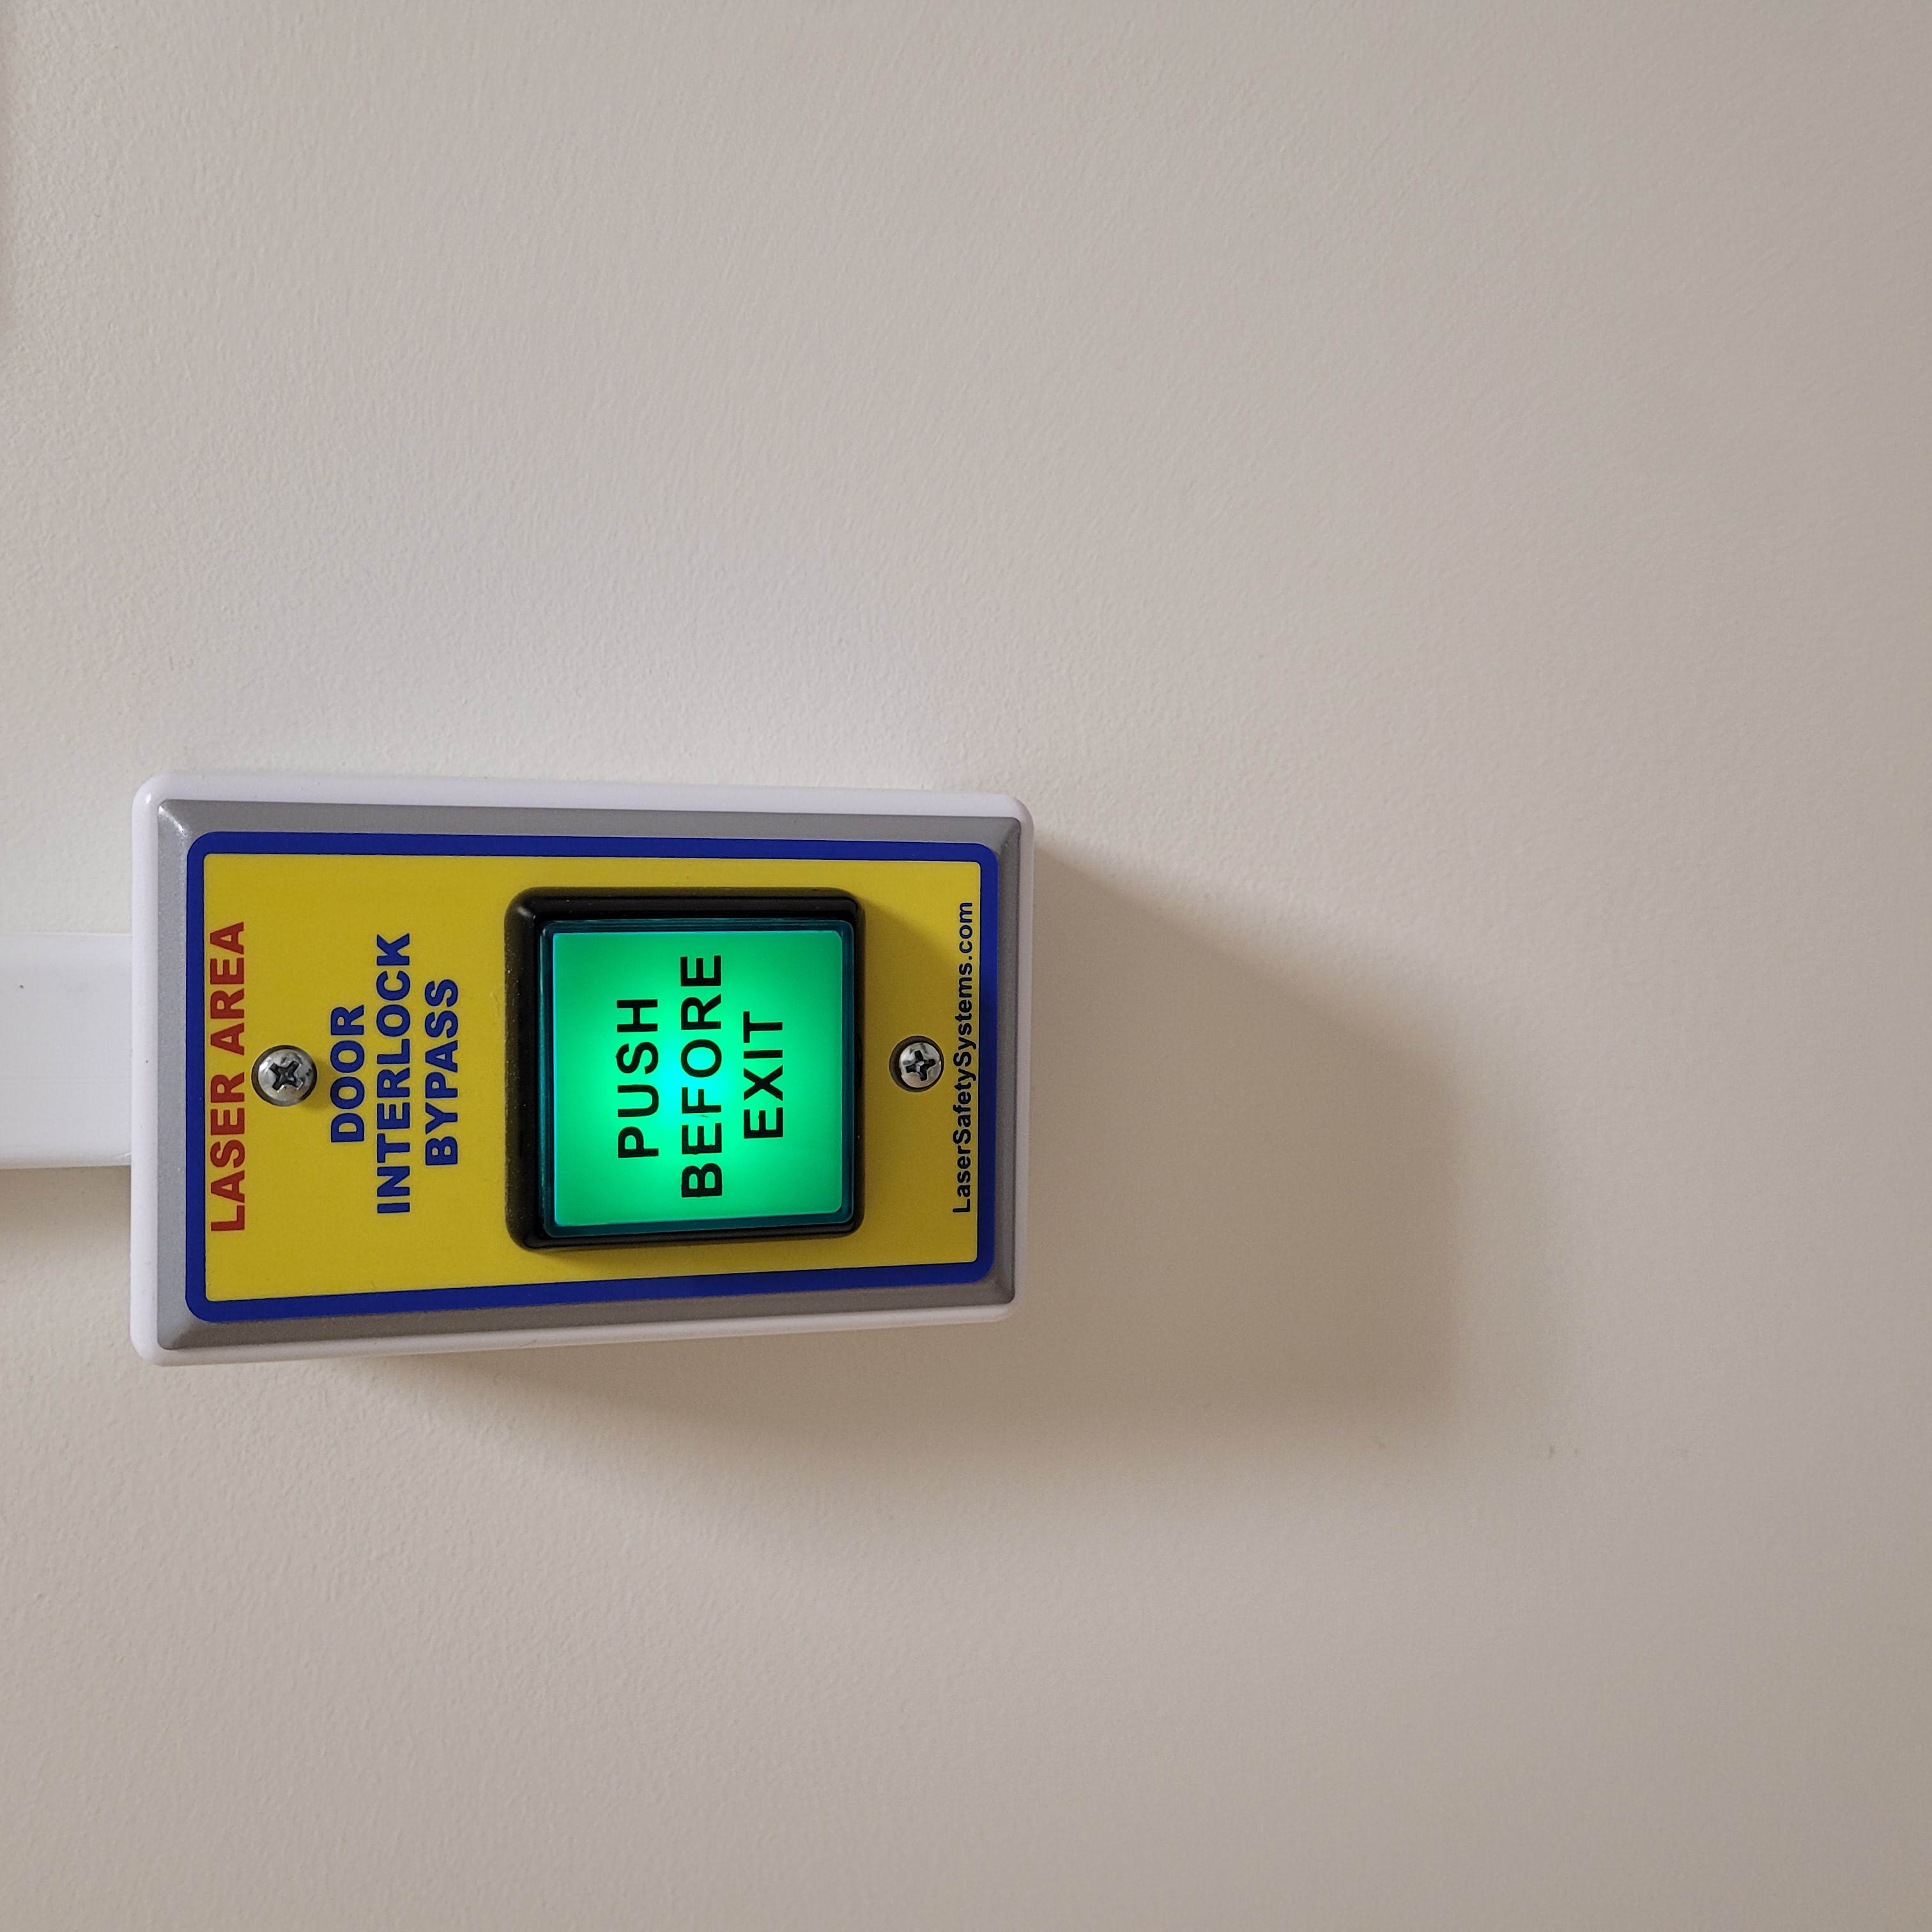
When the rooms are armed, the doors are magnetically locked. This button will temporarily unlock the door to allow you to exit the room.
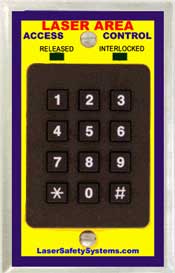
Figure 8: Keypad
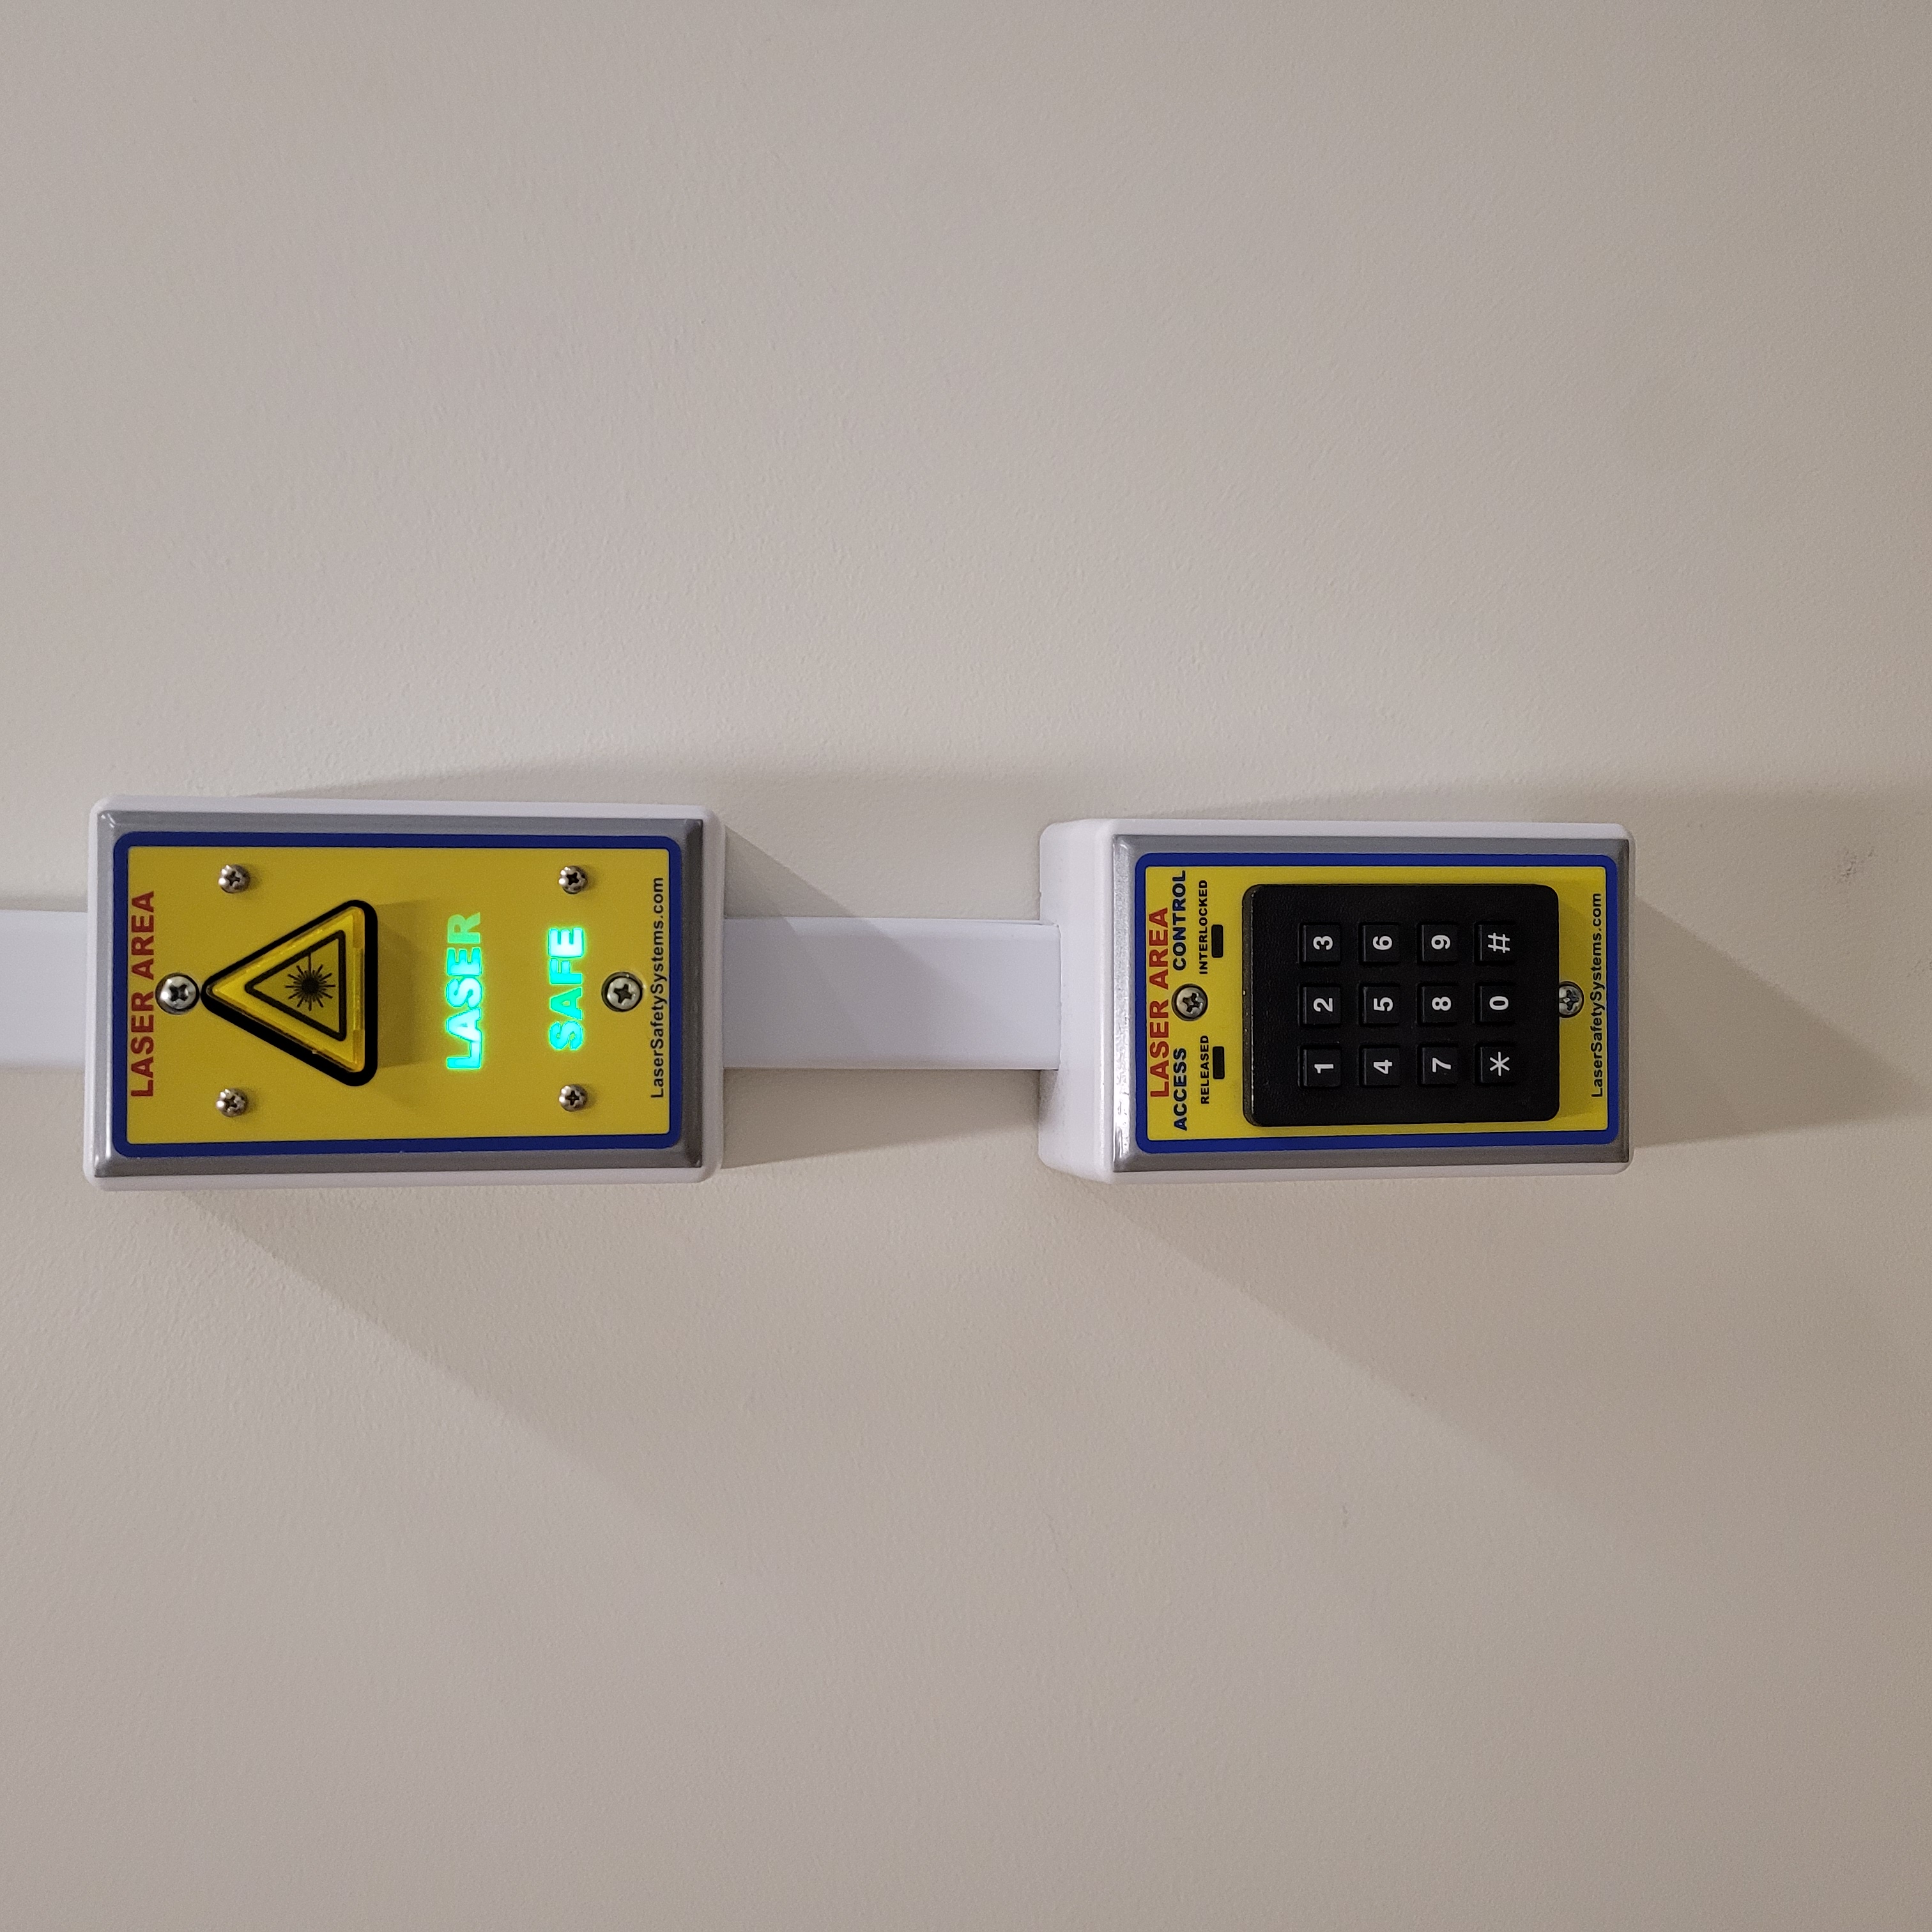
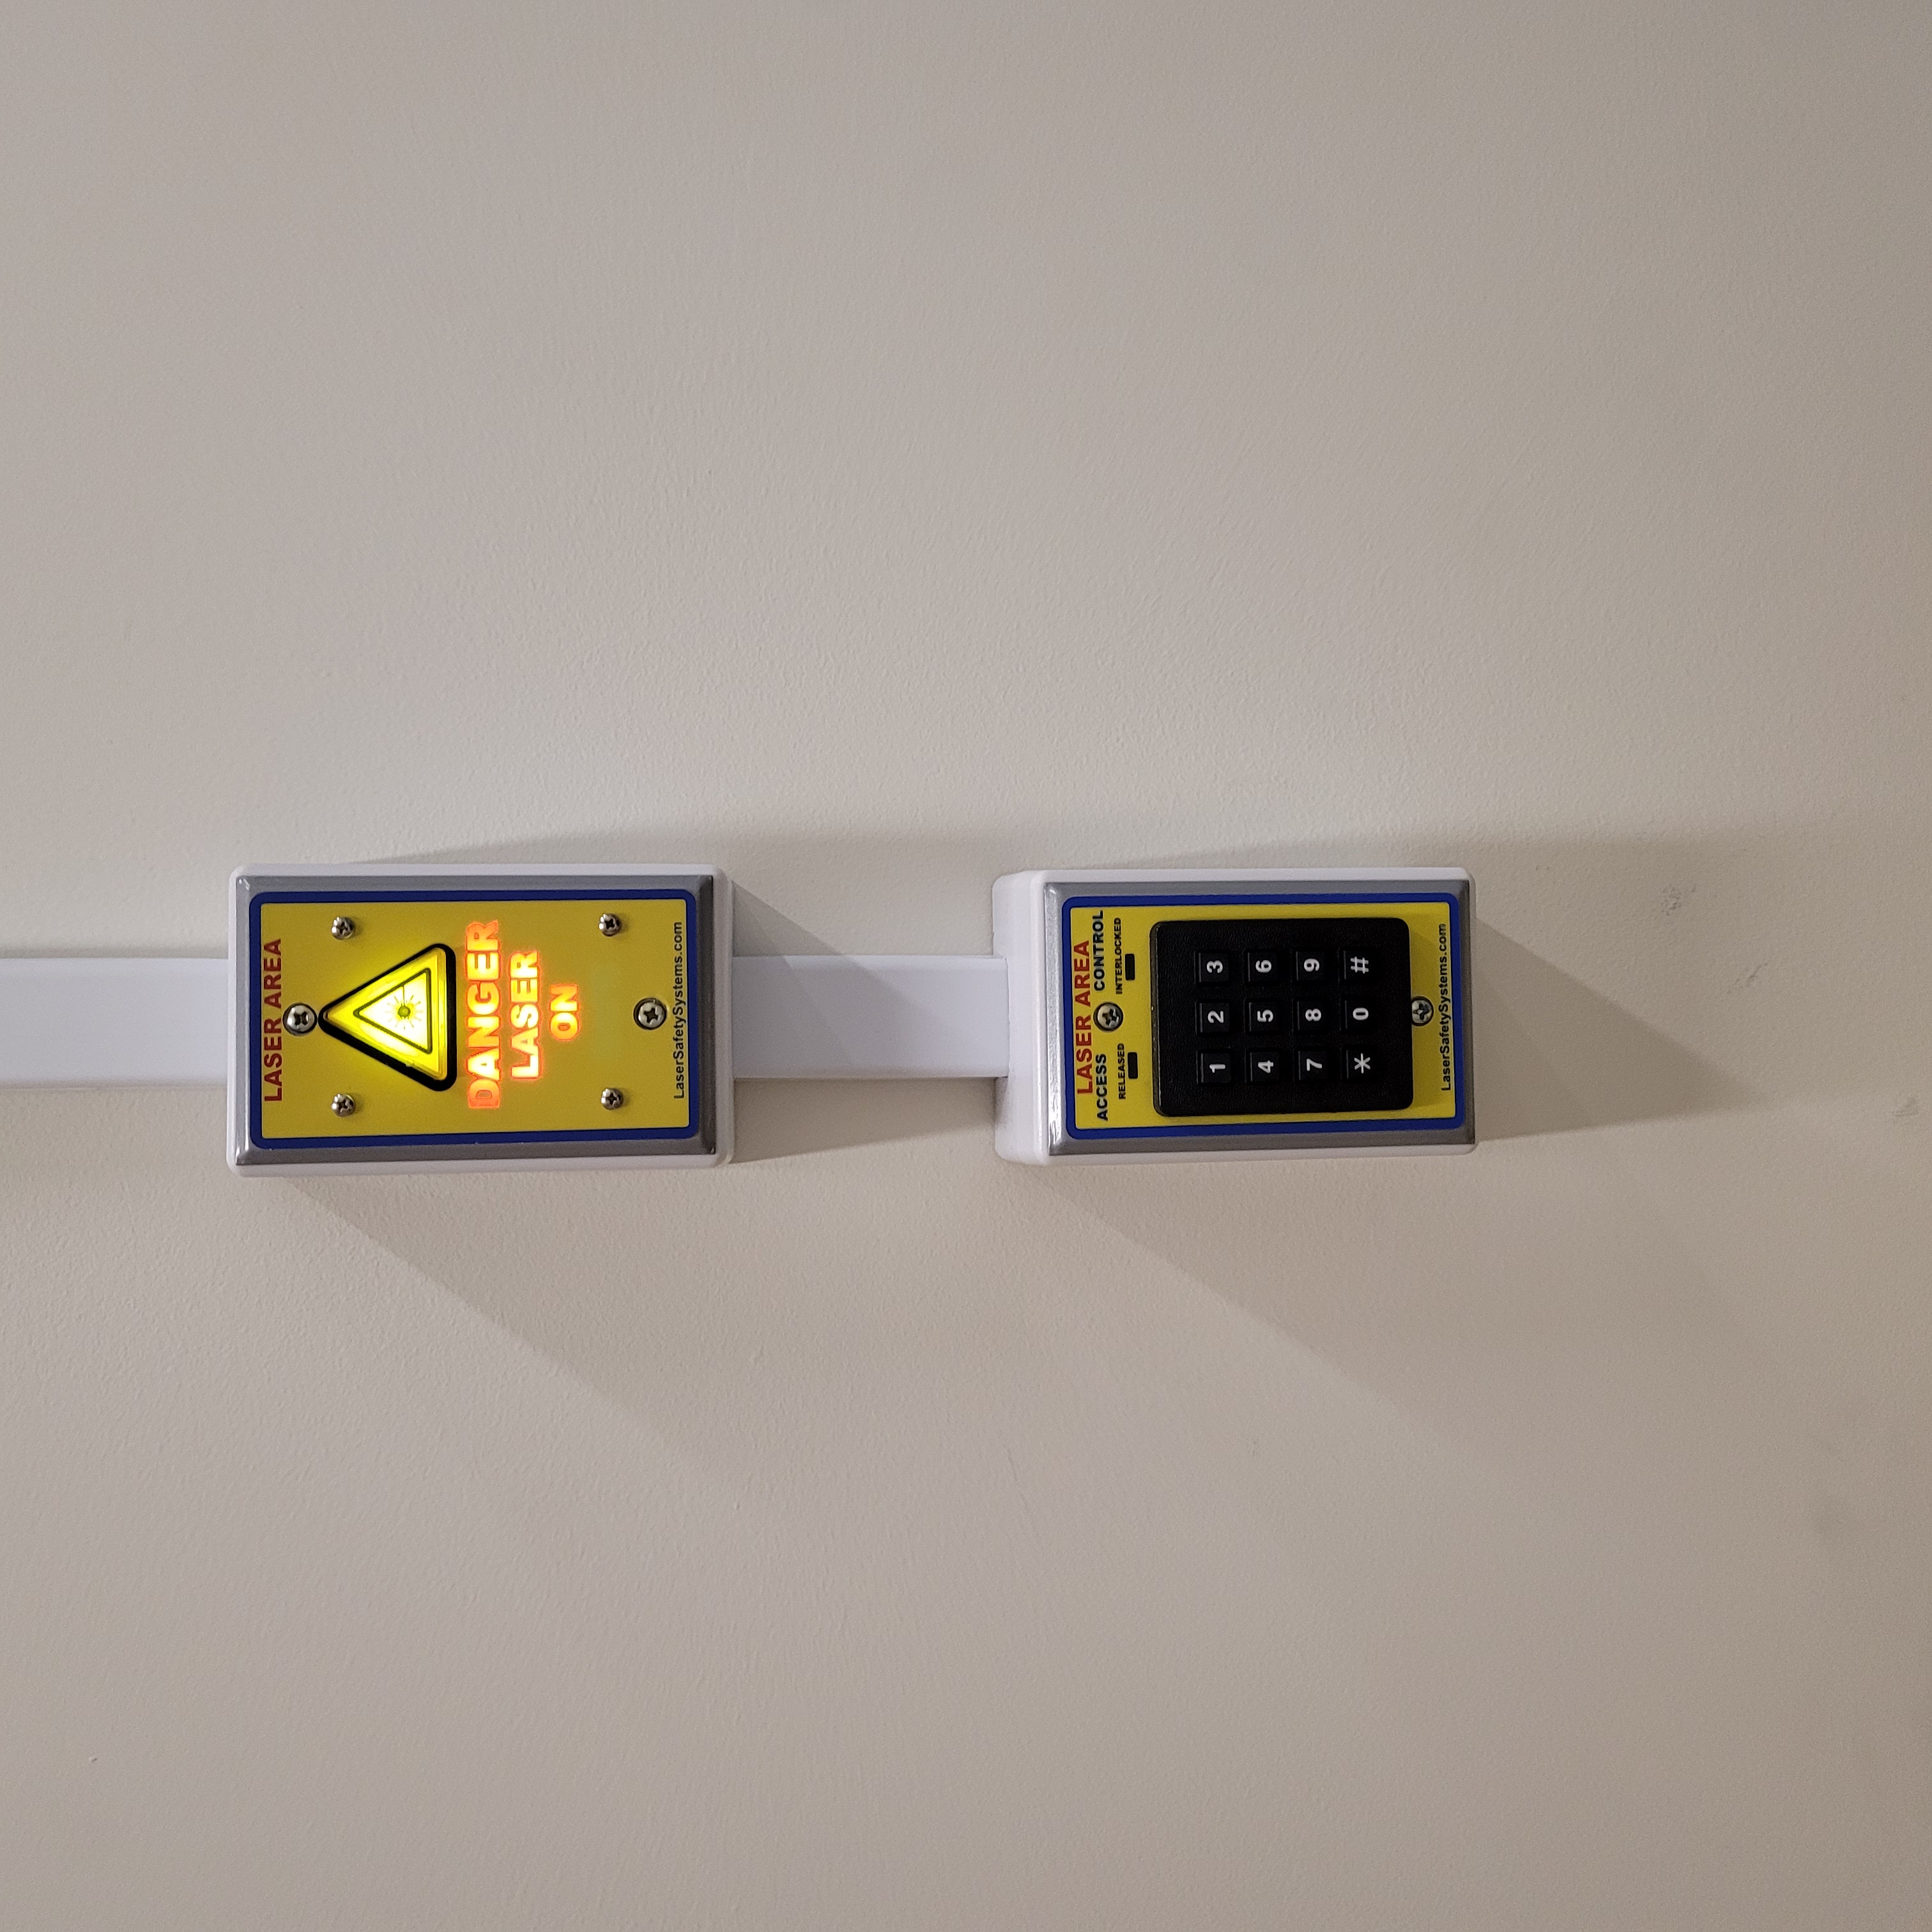
This is the key pad that is used to enter a room that is armed as a laser lab. This keypad has a primary pin for permanent users, and a secondary pin for temporary users that is meant to be changed frequently.
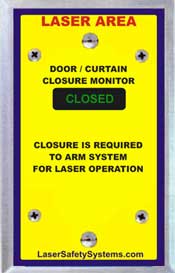
Figure 9: Door Monitor Module
This module is used to monitor the state of a door or curtain. It will display does not show CLOSED, then it is open. If the system is put into an administrative override state, then the door monitor will always show CLOSED.
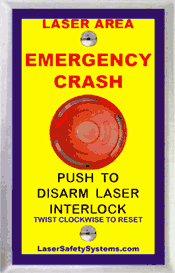
Figure 10: Laser Emergency Stop Button.
All the laser enclosures are equipped with laser emergency stop buttons. The e-stops on an enclosure can only crash that specific laser.
Additionally, there are ionizing radiation emergency stop buttons in Vault-1 and Vault-1 Control. Those only serve the purpose of crashing the transmitters and are not located on the laser enclosures. When the e-stop is pressed, the LED in the center will turn on. To reset the e-stop, twist the button clockwise.
Arming Laser-1 Laser Systems
In Laser-1, there are arming modules for Laser-1, the Dira, and 4 auxiliary hazard. All arming modules are located inside on the arming panel that faces the west wall.
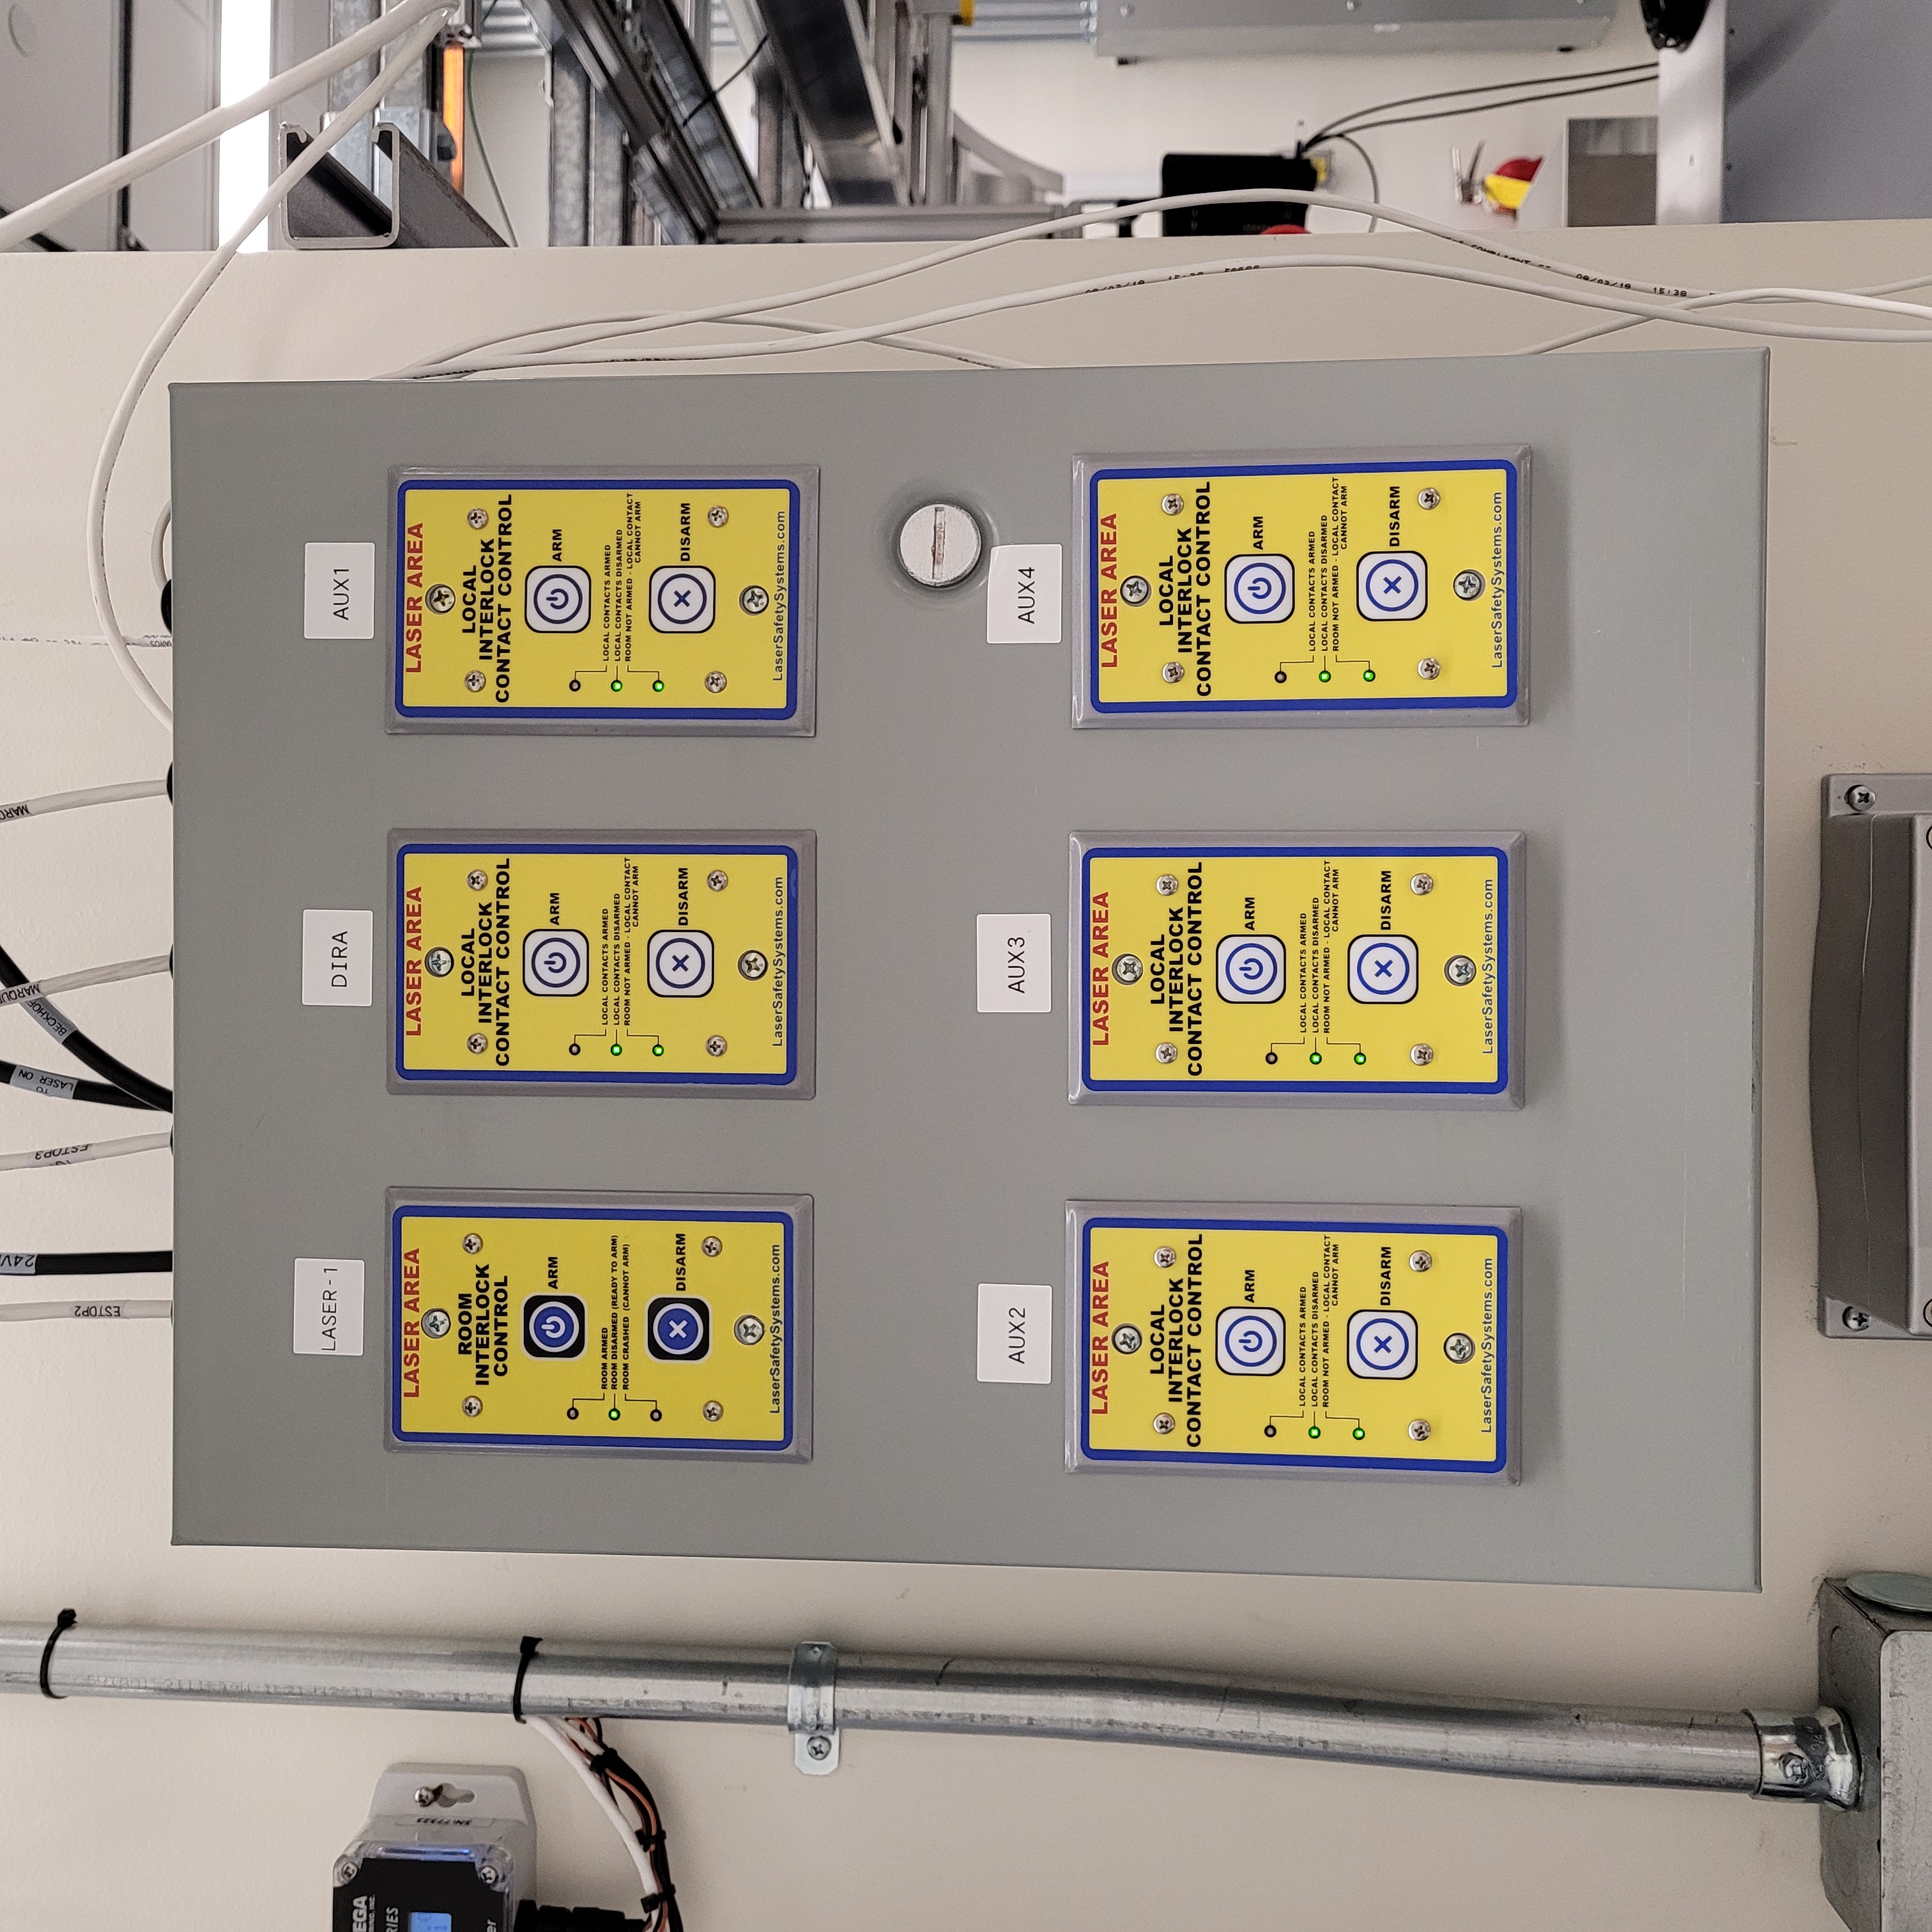
Figure 11: This is the arming panel for Laser-1.
Arming Laser-1 and the Dira Enclosure
Laser-1 must be armed to perform work with the Dira. To arm Laser-1, press arm on the room interlock module labeled Laser-1. The Laser-1 arming module also serves as the arming module for the Dira enclosure.
When Laser-1 is armed, the following will happen to the interlock system:
The Laser-1 VIEWMARQ displays will show DANGER LASER HAZARD.
Laser emergency stop buttons in Laser-1 and around the Vault-1 Dira enclosure will turn on.
Laser warning modules outside of Laser-1, inside of the Laser-1 airlock, and on the Dira LASER ENCLOSURE INTERLOCK protocase will display DANGER LASER ON.
Once Laser-1 is armed the door is magnetically locked. To get into Vault-1, you must type the Laser-1 laser pin into the keypad in Vault-1 Control. Once it is entered the door will be temporarily unlocked. To exit Laser-1, you must push the push to exit button. Once pressed the door will be temporarily unlocked. It is important to note that Laser-1 will disarm itself and shutter all laser hazards if the Laser-1 door is open for #.
|
|
This figure shows the Laser-1 control module in the safe state. ================================ |
This figure shows the Laser-1 control module in the armed state. =============================== |
Figure 12: This is the Laser-1 arming module in different states.
|
|
This figure shows the Laser-1 push to exit button in the safe state. ============================== |
This figure shows the Laser-1 push to exit button in the armed state. ============================= |
Figure 13: This is the Laser-1 push to exit button in different states.
|
|
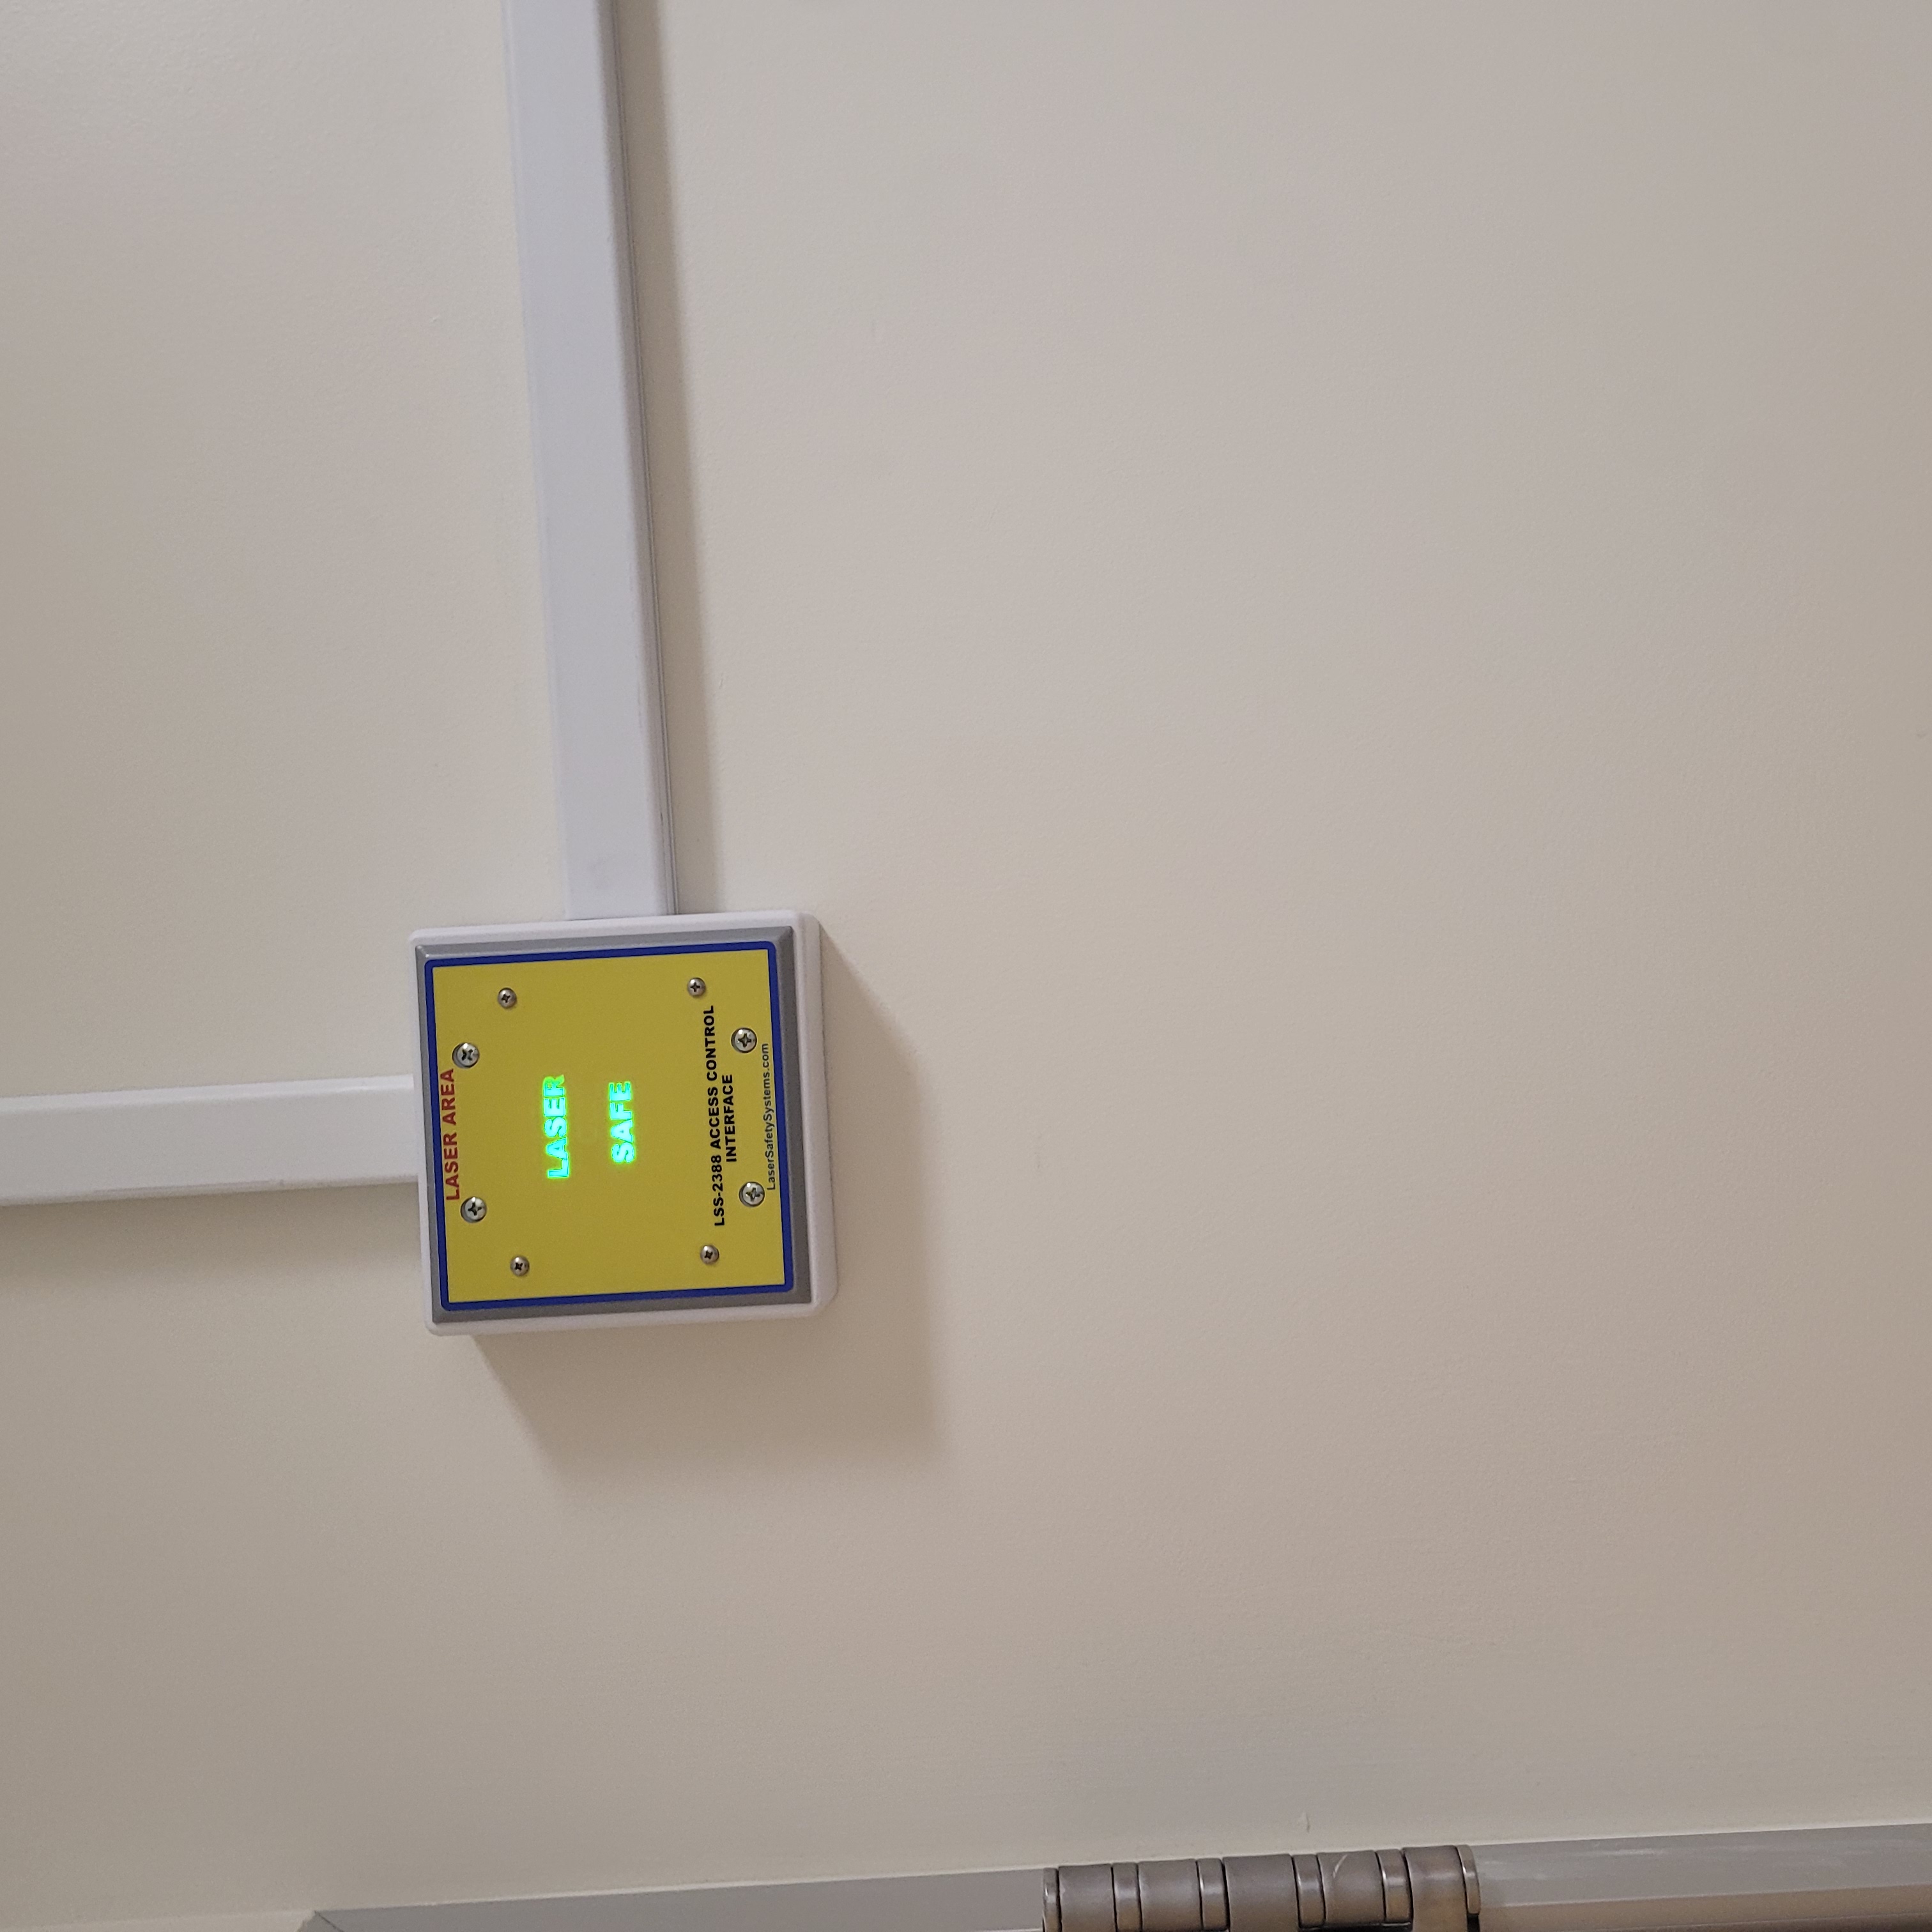
This figure shows the Laser-1 entryway with the modules showing LASER SAFE. =================== |
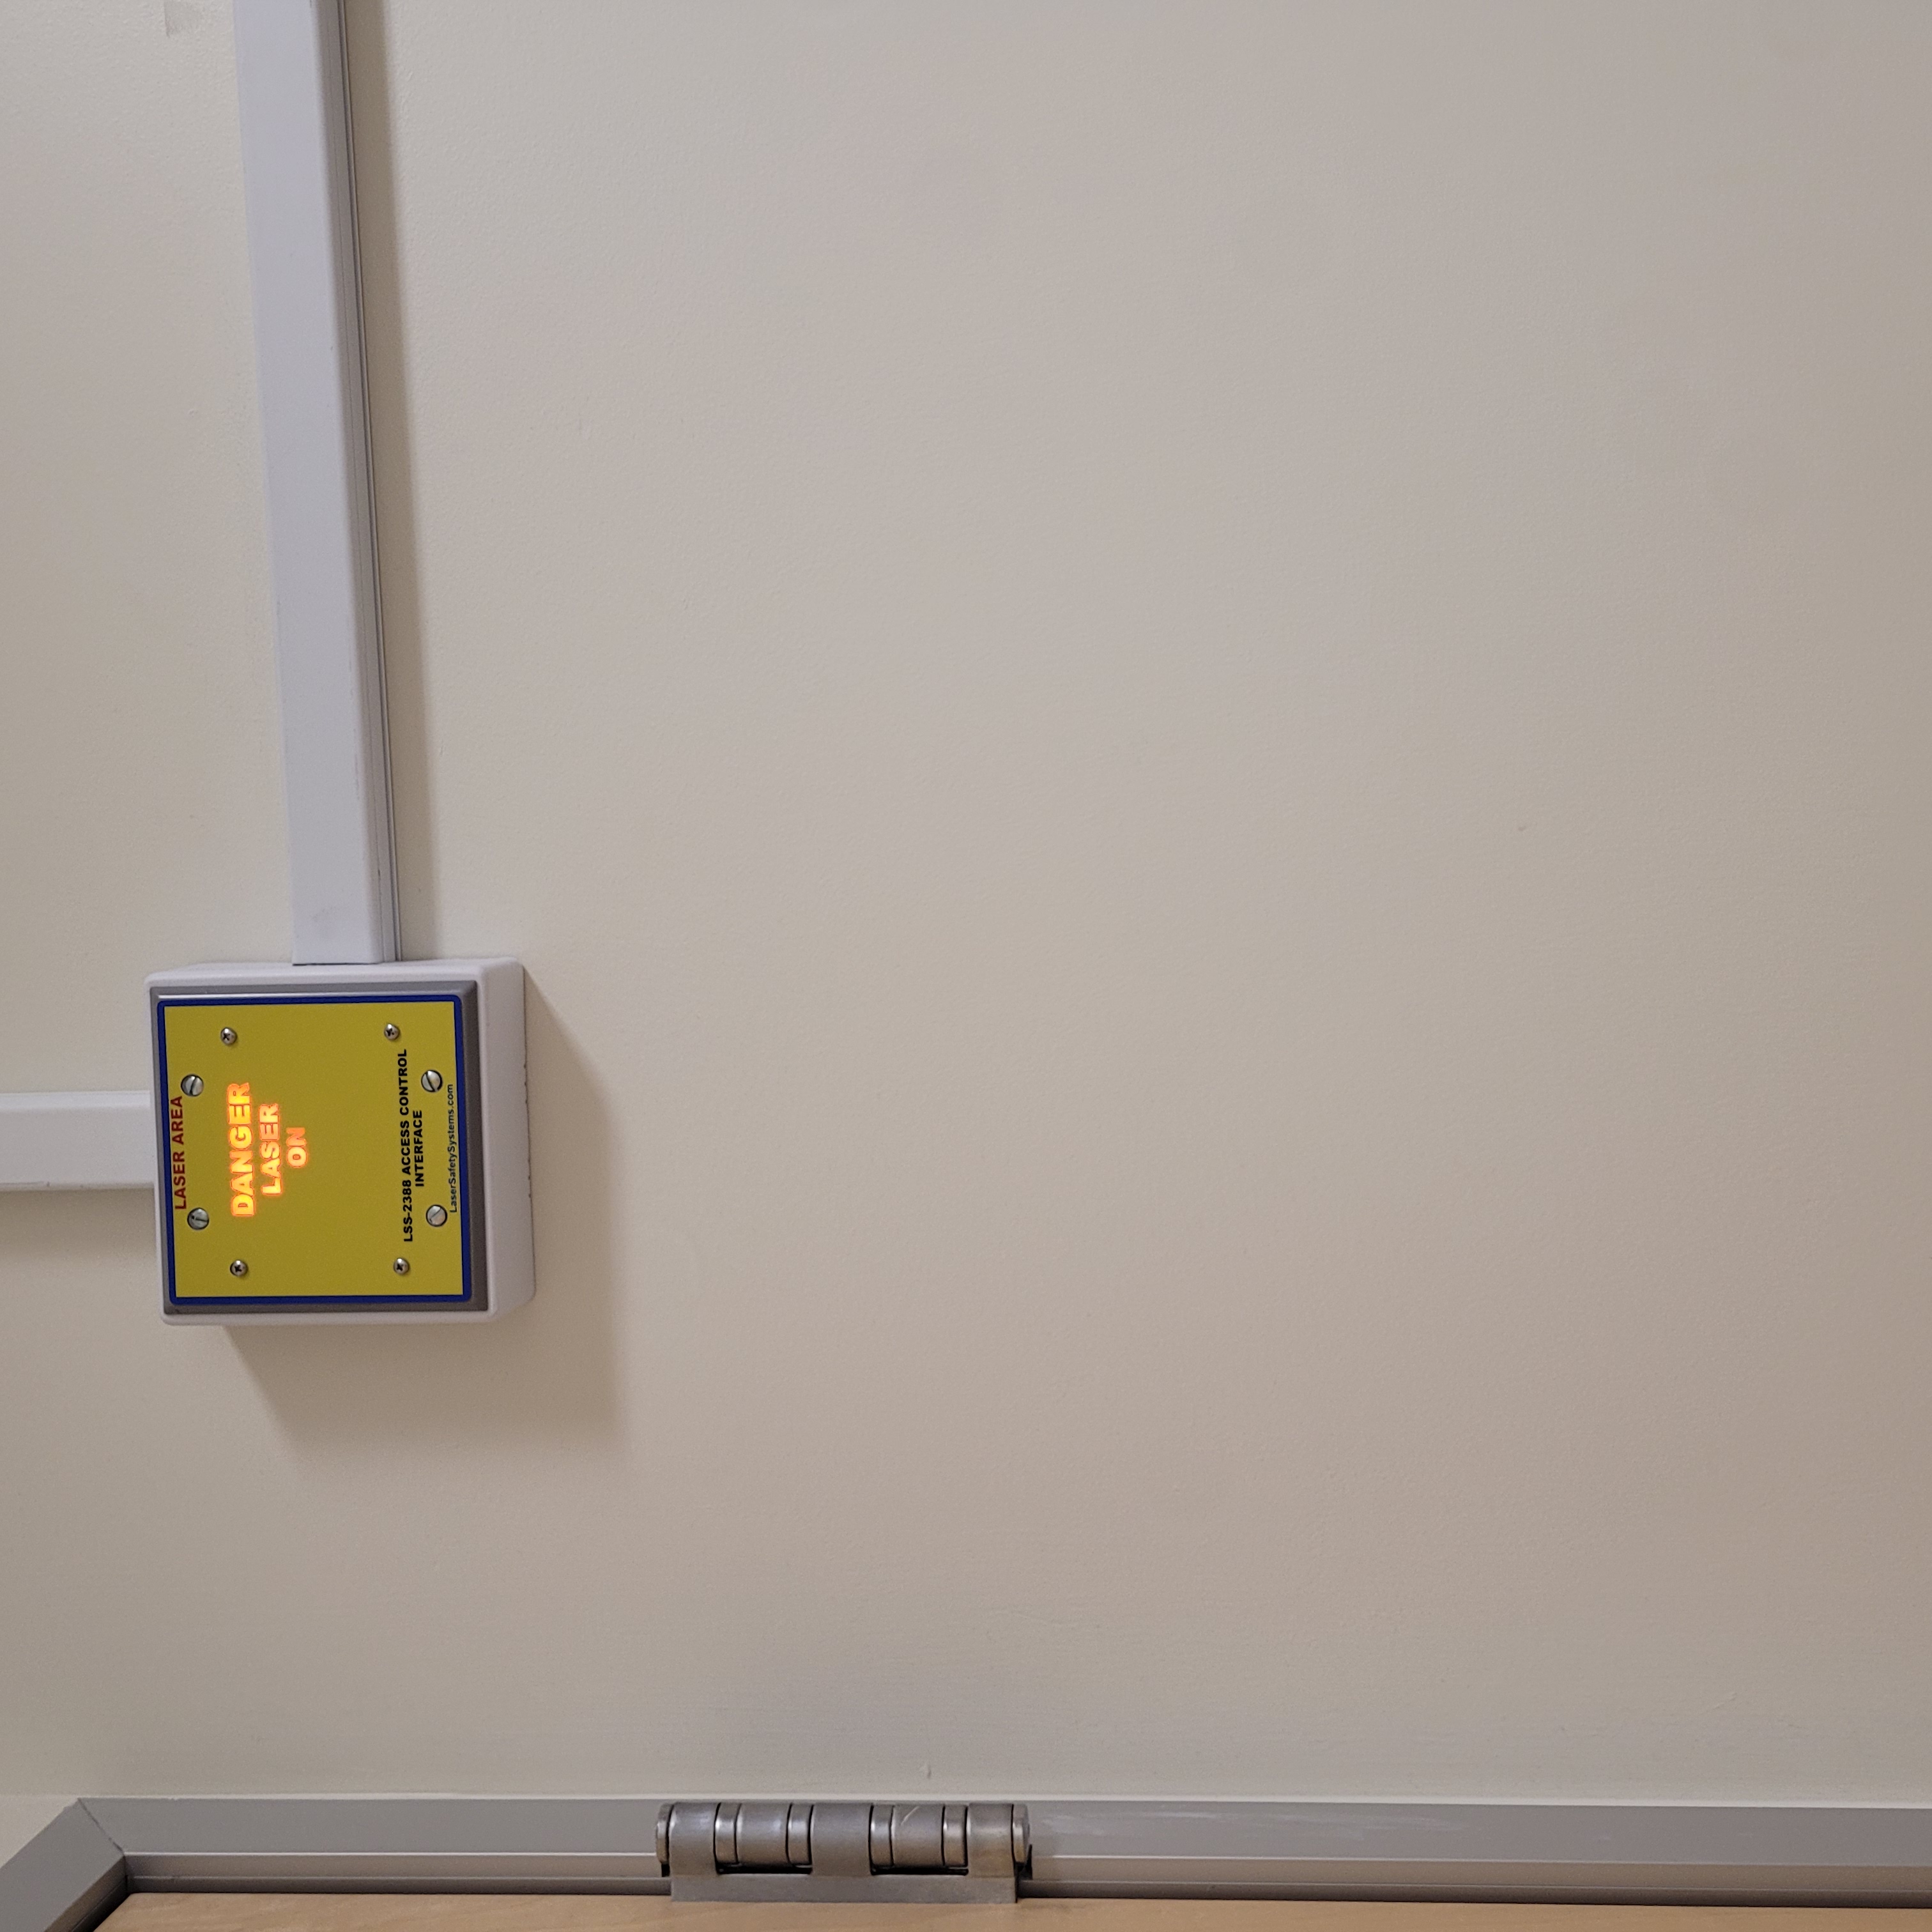
This figure shows the Laser-1 entryway with the modules showing DANGER LASER HAZARD. ========== |
Figure 14: This is the Laser-1 entryway with the modules showing different states.
Arming the Dira
To arm the Dira, press arm on the local interlock module labeled Dira. Because the Dira exports a laser hazard into Vault-1, Vault-1 laser hazard indicators will update.
When the Dira is armed, the following will happen to the interlock system:
The Laser-1 entry VIEWMARQ display will show IR HAZARD.
The Laser-1 airlock VIEWMARQ display wil show DANGER LASER ON – IR EYE PROTECTION REQUIRED.
The Vault-1 Control VIEWMARQ display will show DIRA ARMED.
The beacon stacks in the Vault-1 laser interlock system will turn on the white Dira armed LED.
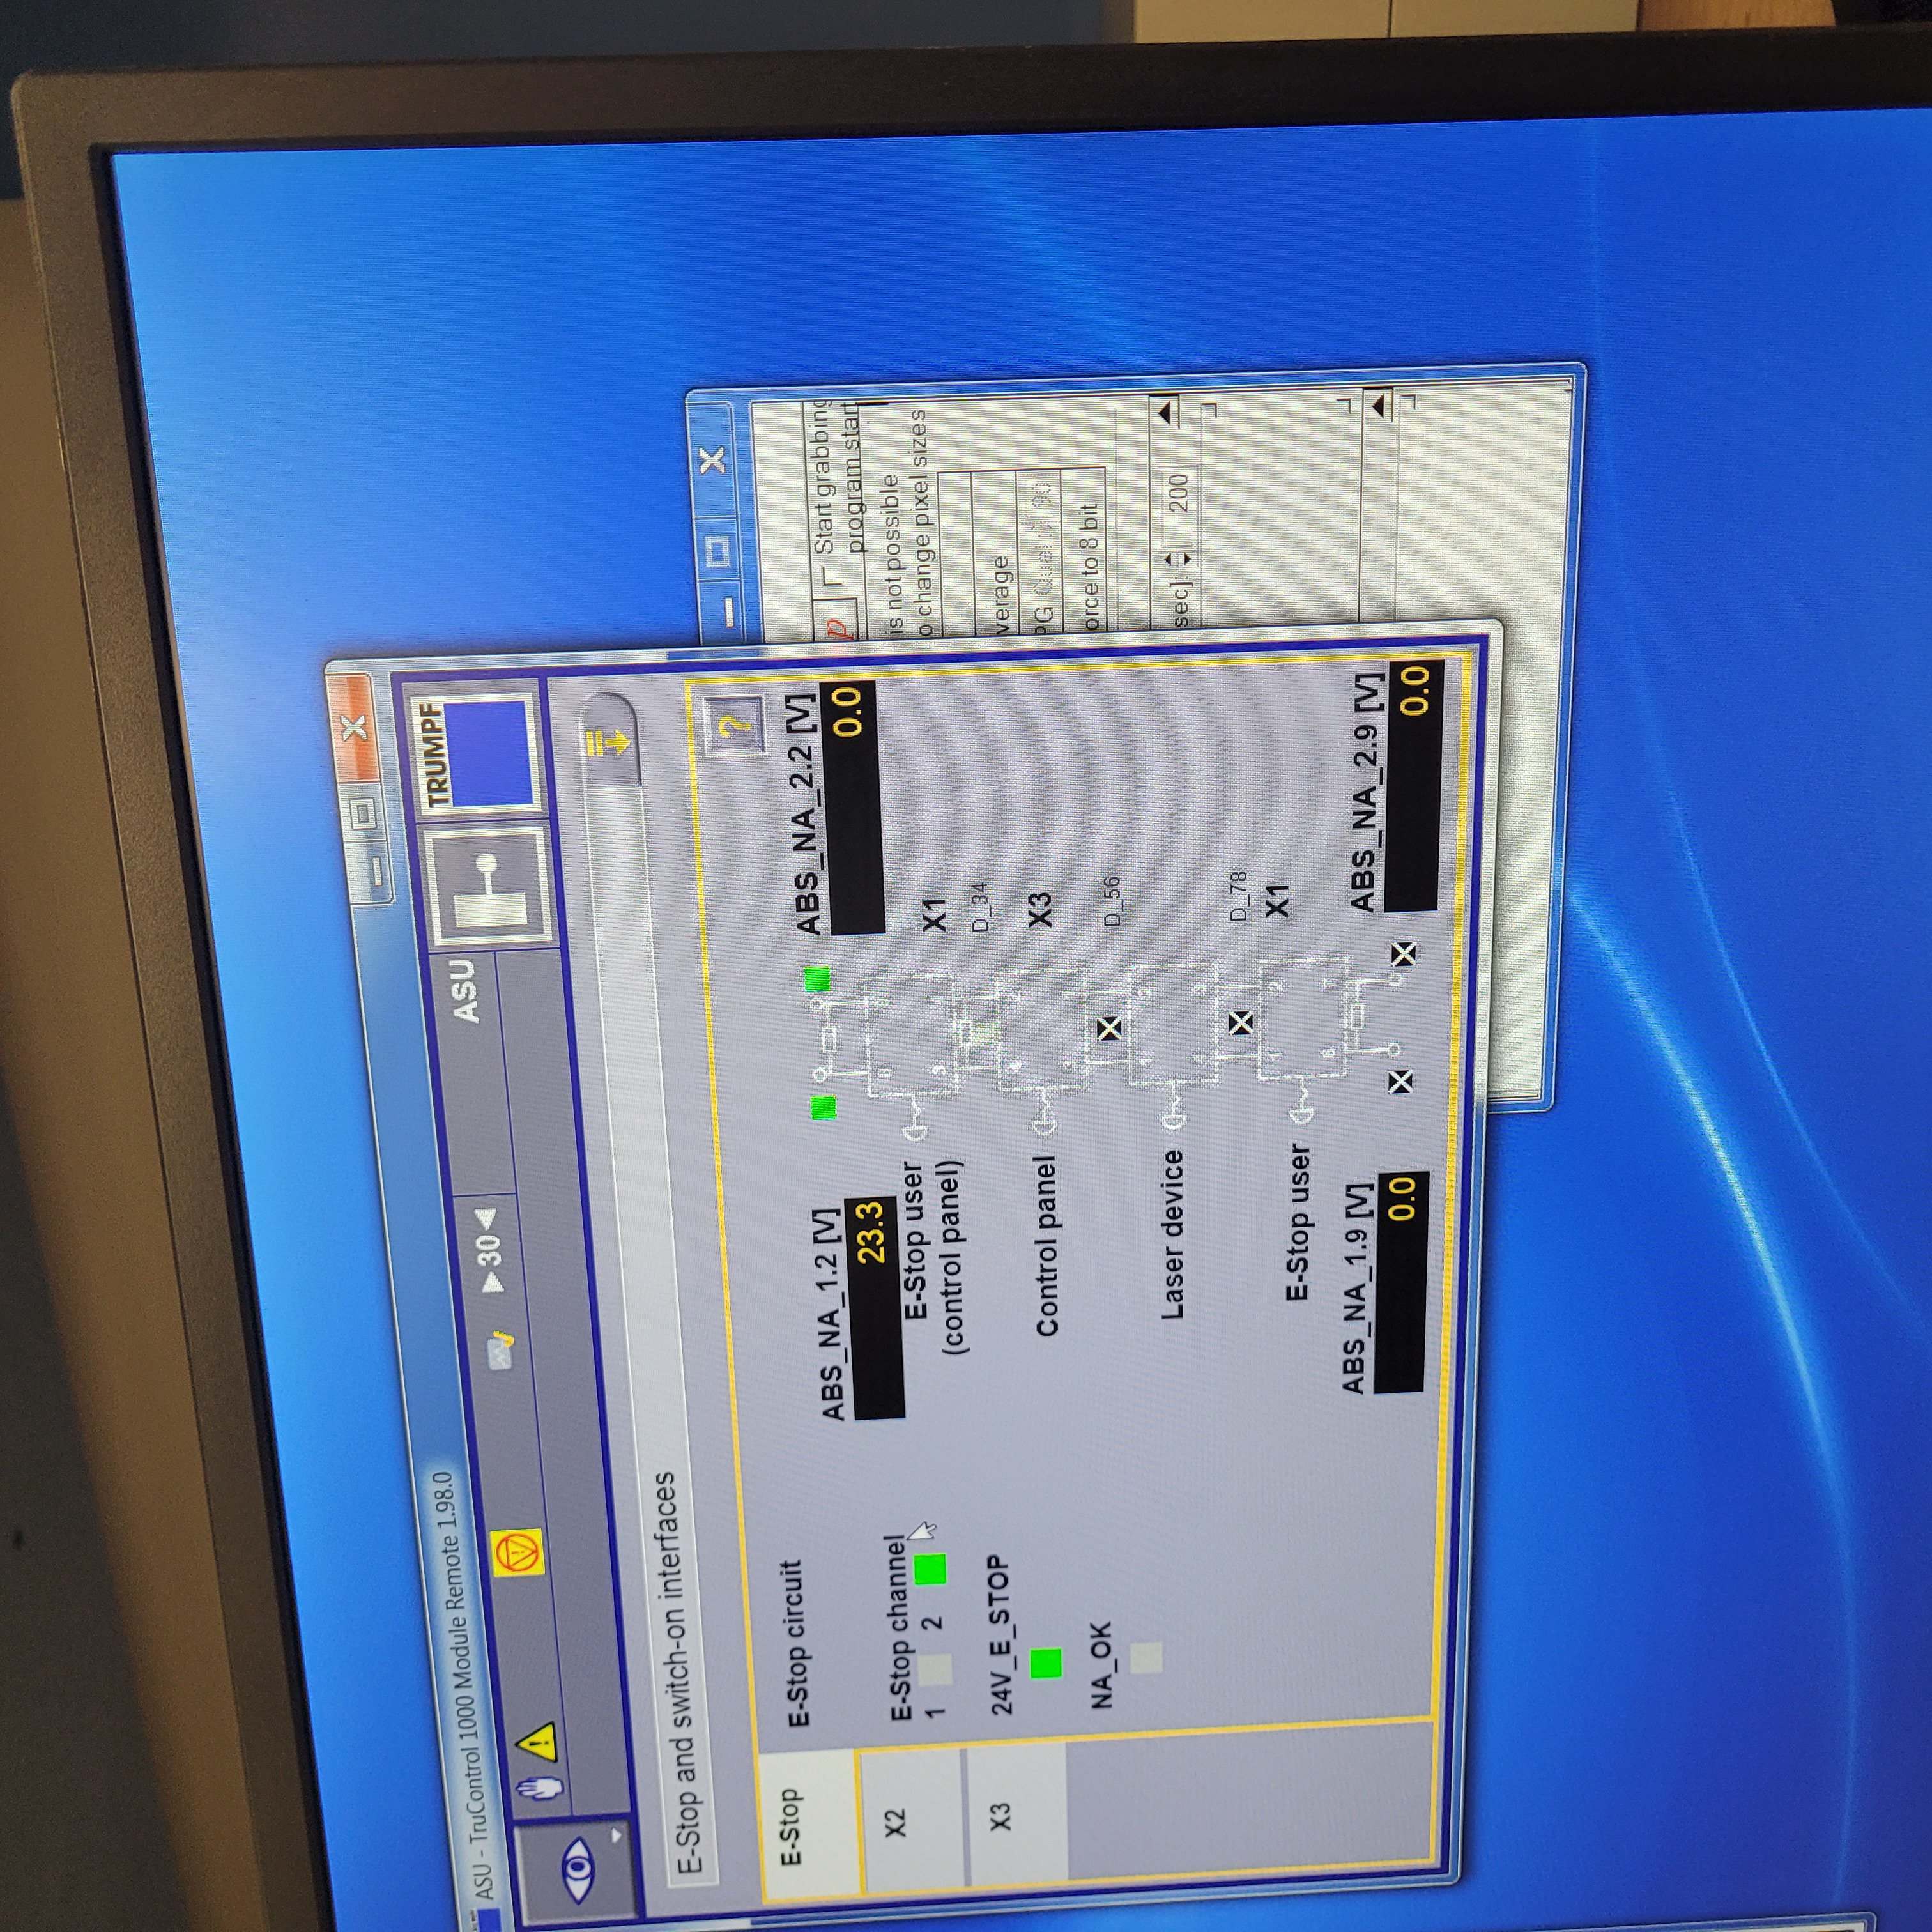
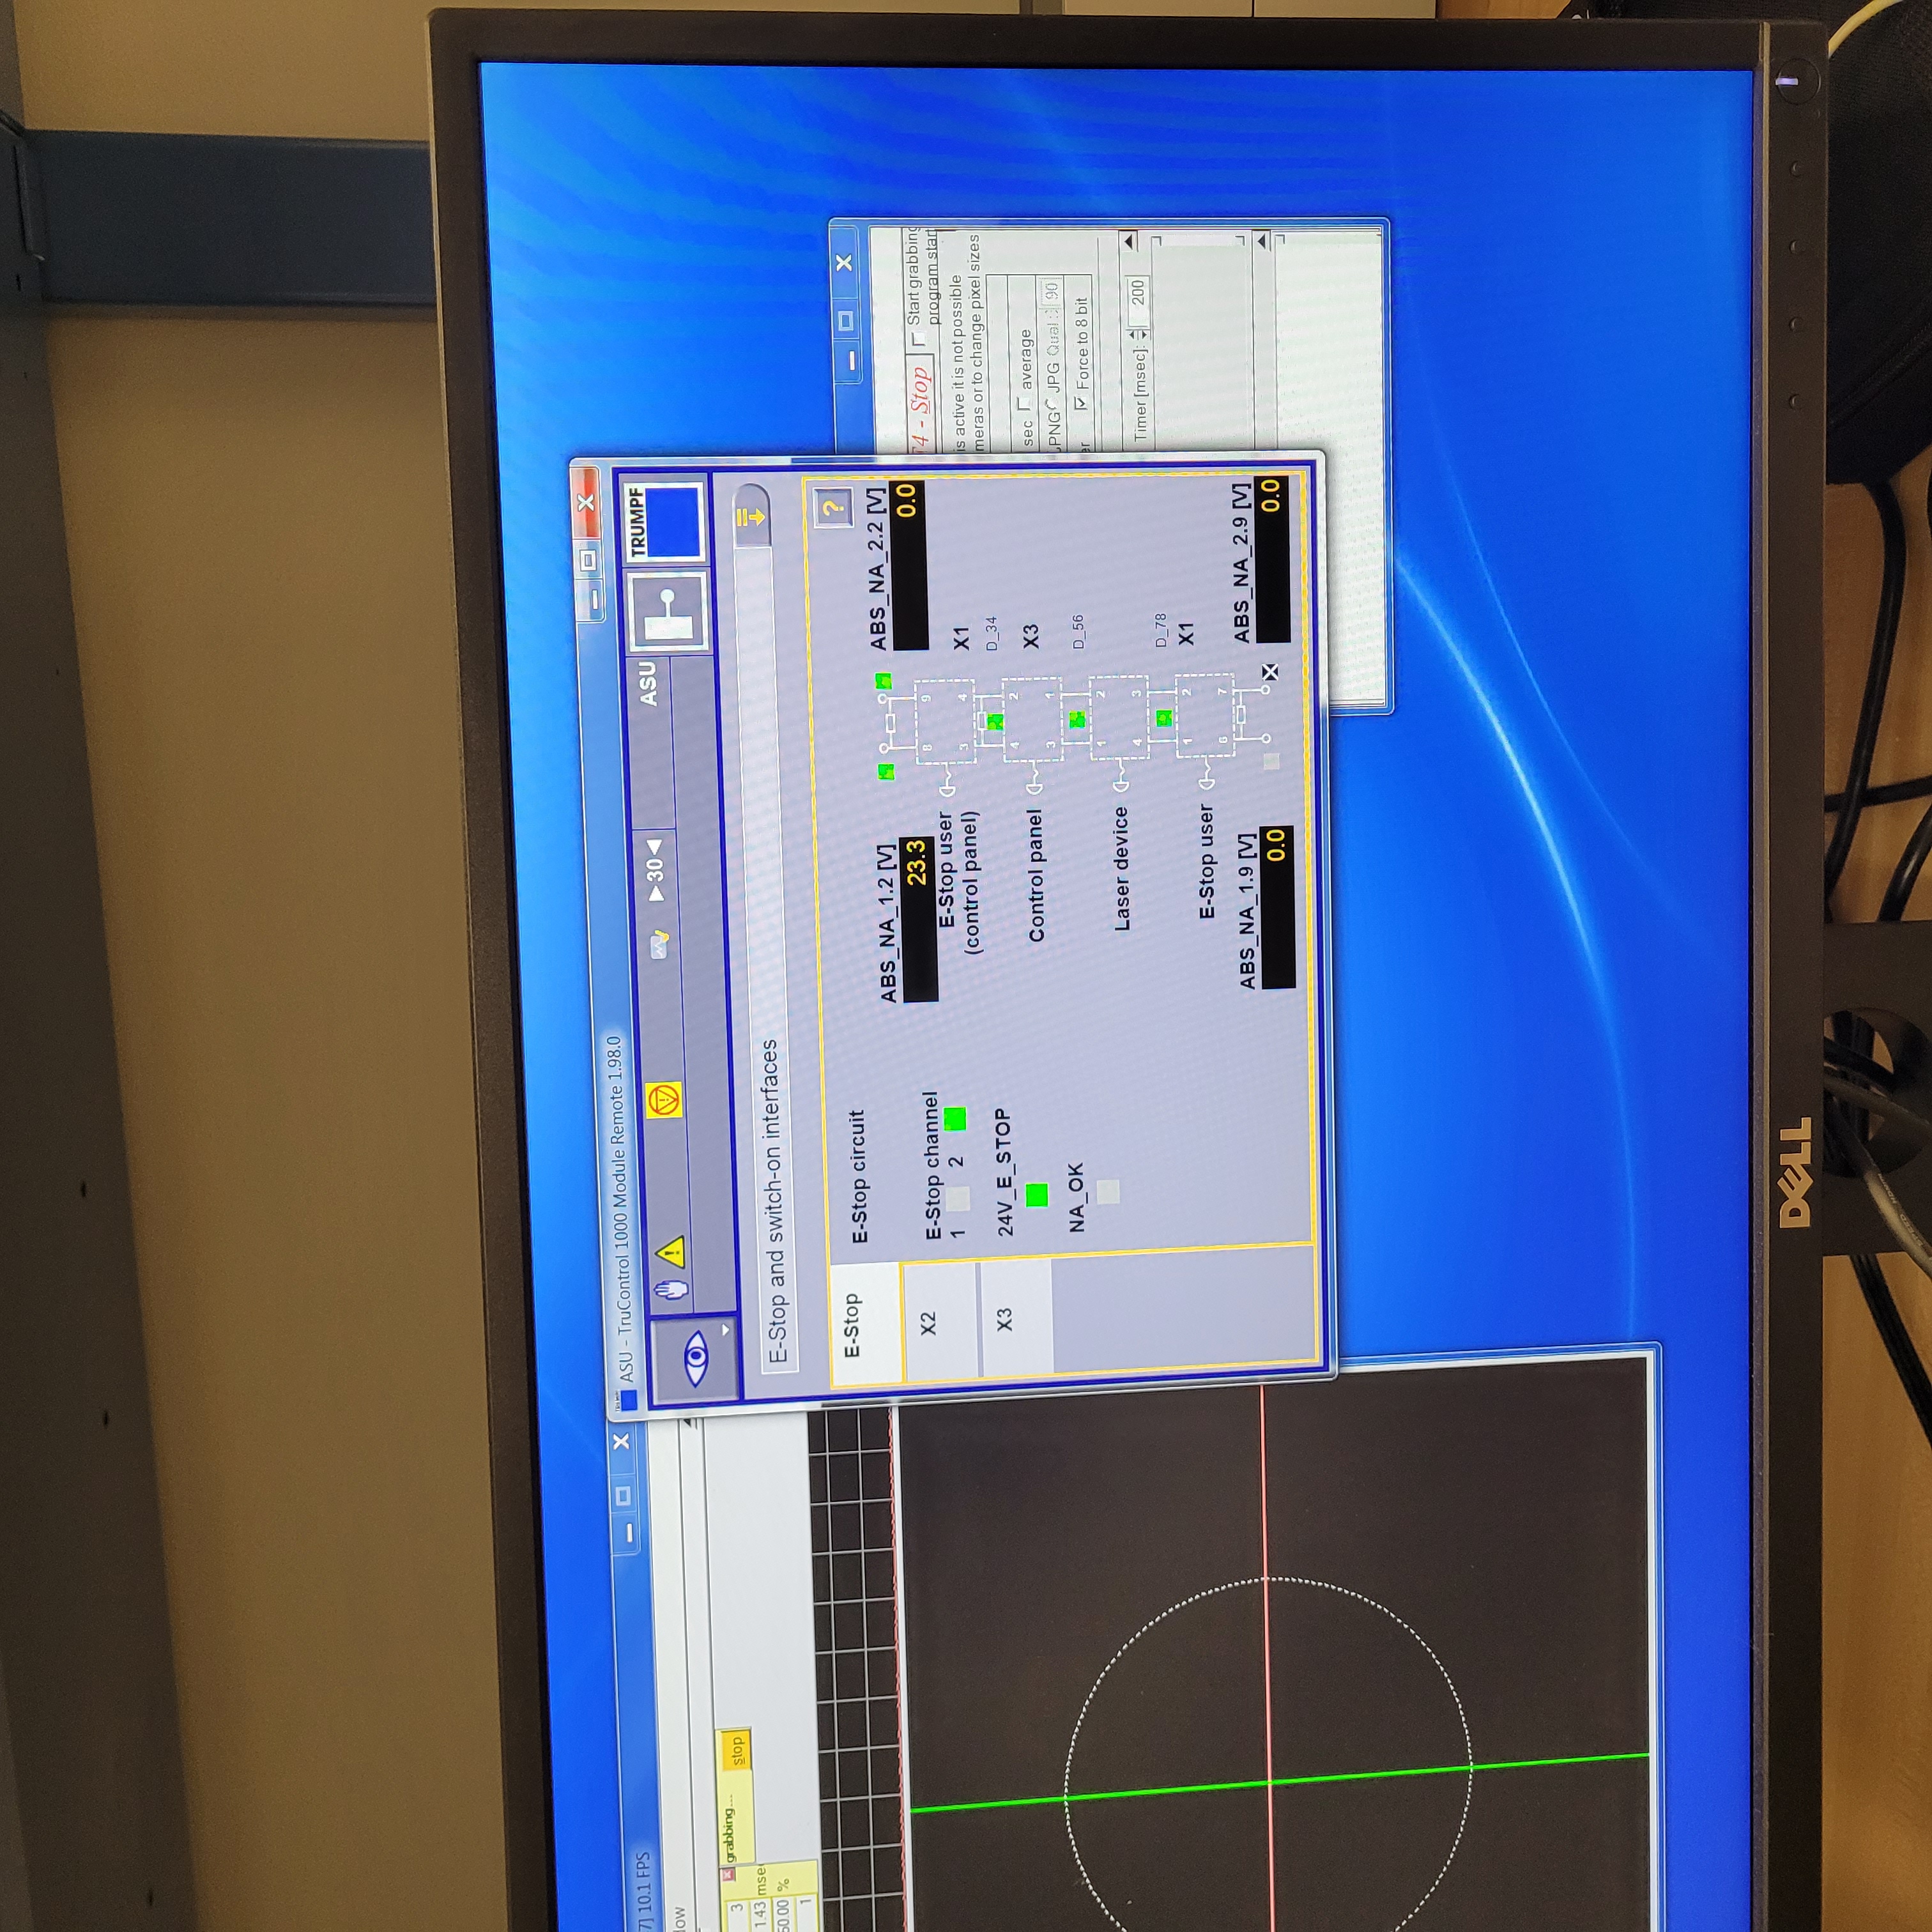
If the Dira is disarmed from either the arming panel or from a laser e-stop, the Dira will not rearm normally. You must first toggle one of the e-stops that are on the Dira laser. After this, the Dira can be properly armed from the arming panel.
Figure 15: This shows the Dira control panel software under different arming states. Here you can see where the issue arises, causing a need for the Dira to be reset before it can be armed again.
Arming Auxiliary hazards
Note
The auxiliary hazards are not currently in use.
Disarming the Laser Interlock System
All the arming laser modules have disarming buttons. You can either disarm specific modules you no longer need, or you can disarm the room modules to auto-disarm their local modules.
